Microsoft Flow is getting better and better with each passing day. It now has thousands of templates to get you started quickly and provides connectors for hundreds of other services. Flow can be invoked from across various external applications as well, but I guess, the most immediate users would come from SharePoint world 🙂
I wrote an article earlier about how Microsoft Flow can be used to Enable Incoming Mails in SharePoint Online. In this article, I am going to explain how to connect with SharePoint Online, extract some data using REST Services and send it for further processing.
Getting Started
If you are reading this article, chances are you already have played a bit with Microsoft Flow. I will anyway cover a few starting points. You need to go to https://flow.microsoft.com and login with your Office 365 account. Flow pricing is based on number of runs per user, per month. Flow runs included in the Office 365, Microsoft Flow Plan 1 and Plan 2 are pooled across all users in the company, i.e. if your organization has bought 1000 licenses, you get number of runs x 1000 times flow runs. You can see the pricing details here.
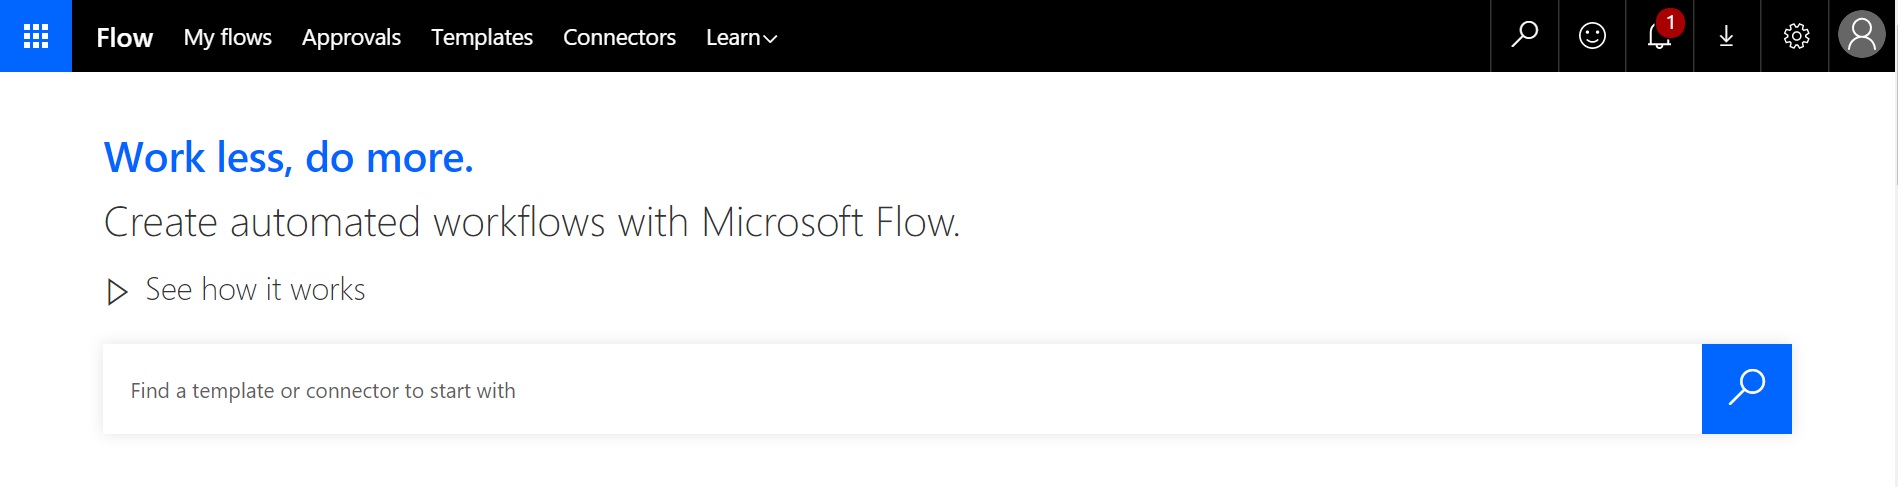
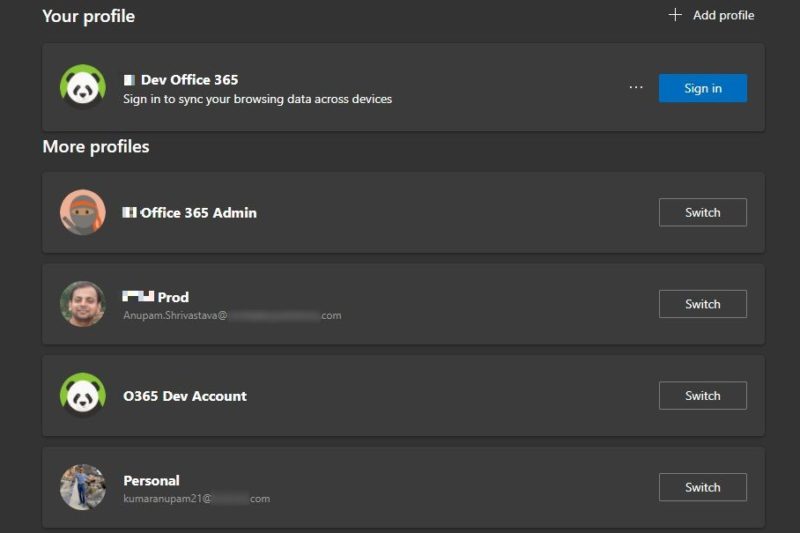
Once you login with your Office 365 account, you would see this landing page.
SharePoint Bits
If you have worked with SharePoint Add-Ins, you already know that to connect to SharePoint using Client Side Object Model (CSOM), we need to get the Client ID and Client Secret registered. So, before we jump in our flow, lets get that part done.
Register App
First step is to register your app with Azure ACS.
To do this browse to https://[tenant].sharepoint.com/_layouts/15/appregnew.aspx, click on Generate for Client ID and Client Secret. Type the Title of your app, App Domain as www.localhost.com and Redirect URI as https://www.localhost.com. Last two entries need to be in that format, but we won’t be using those so you can type anything else as well.
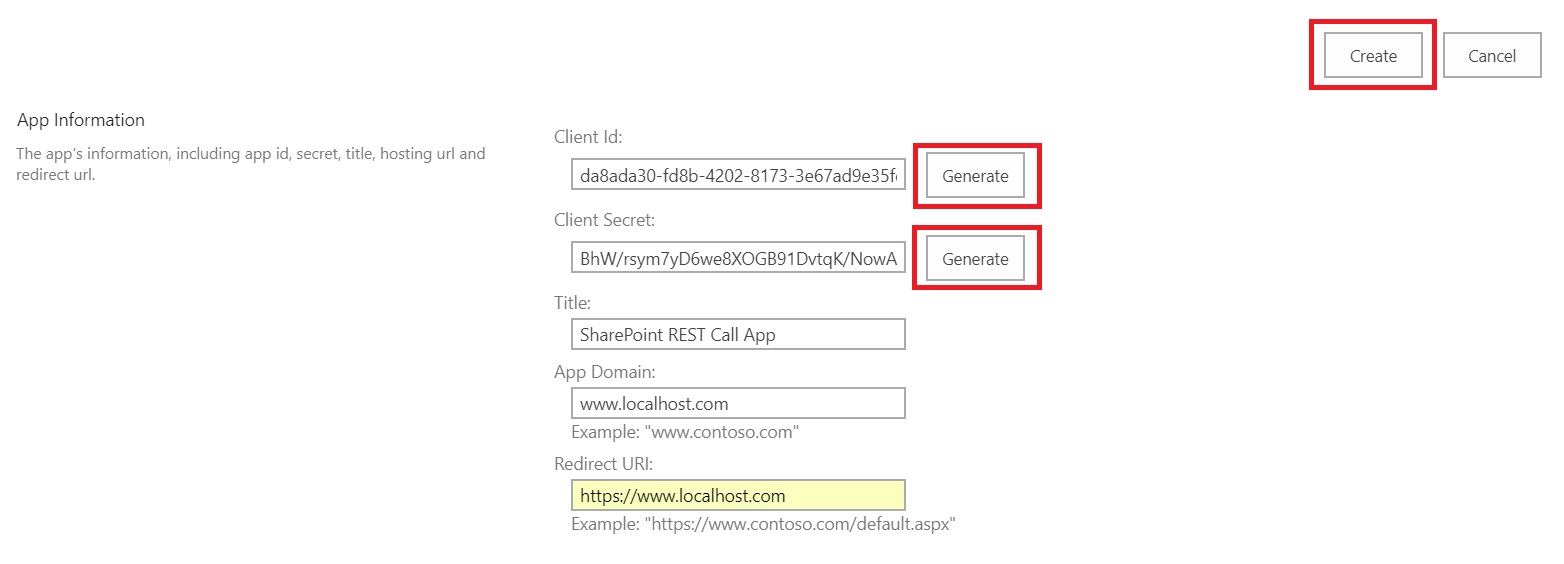
Click on Create to complete the registration.

Add Authorization
Even though now we have the Client Id and Client Secret using which we can “Authenticate” with SharePoint, “Authorization” will fail as this doesn’t have any permission there. So, let’s give some permission in SharePoint to this app.
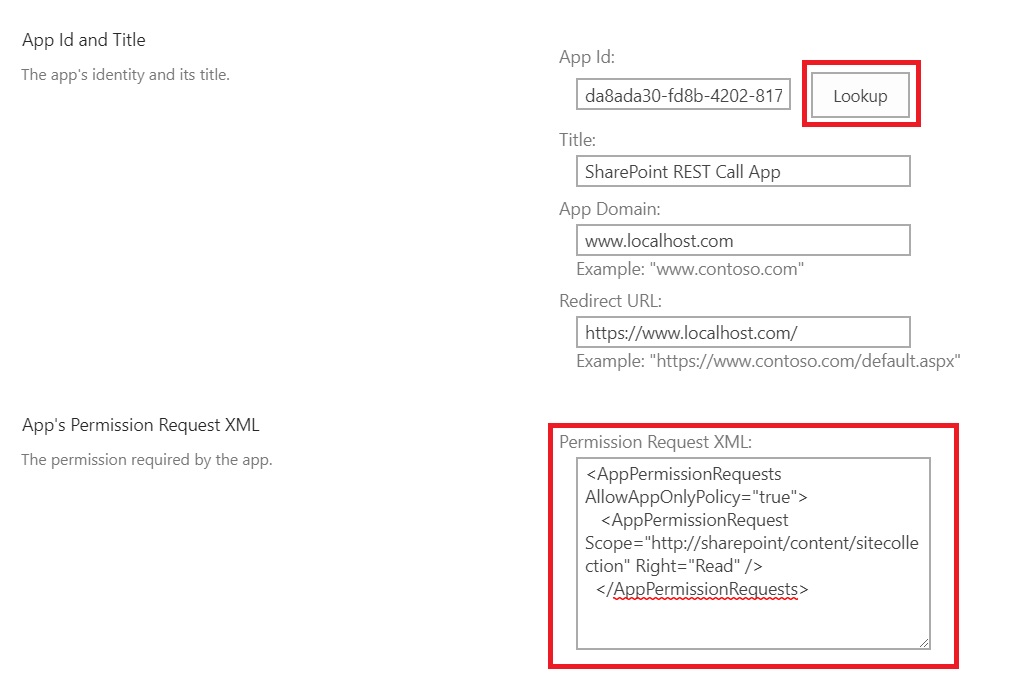
Browse to https://[tenant].sharepoint.com/_layouts/15/appinv.aspx and type in the Client ID in the App ID text box and click Lookup. It would show up the Title, App Domain and Redirect URI entered in previous step.
Let’s say all we want from the REST call that only requires read permission at site collection level, like give us the list of all site users. Add the following in the “Permission Request XML” box.
[code autolinks=”false”]
<AppPermissionRequests AllowAppOnlyPolicy="true">
<AppPermissionRequest Scope="http://sharepoint/content/sitecollection" Right="Read"/>
</AppPermissionRequests>
[/code]
It requires AppOnlyPolicy to be set as true, since the Flow will be accessing SharePoint directly as an application and not as any logged in user. You can check this article to know more about App Permissions and scopes.
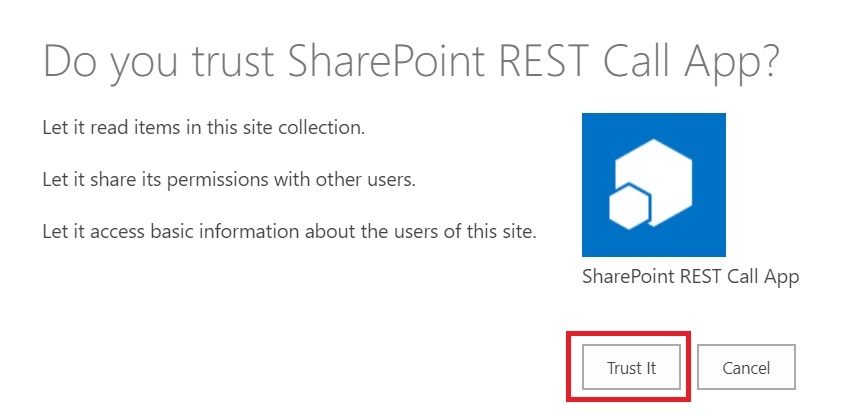
Click Create button to add the permission. It will pop up a screen asking to Trust the App, click on Trust It button.
Now that we have our app registered with required permissions, we can switch back to our Flow.
Create Flow
Lets go ahead and create our flow which we’ll extend to include the functionalities of REST call to SharePoint. Click on My flows and chose “Create from blank”

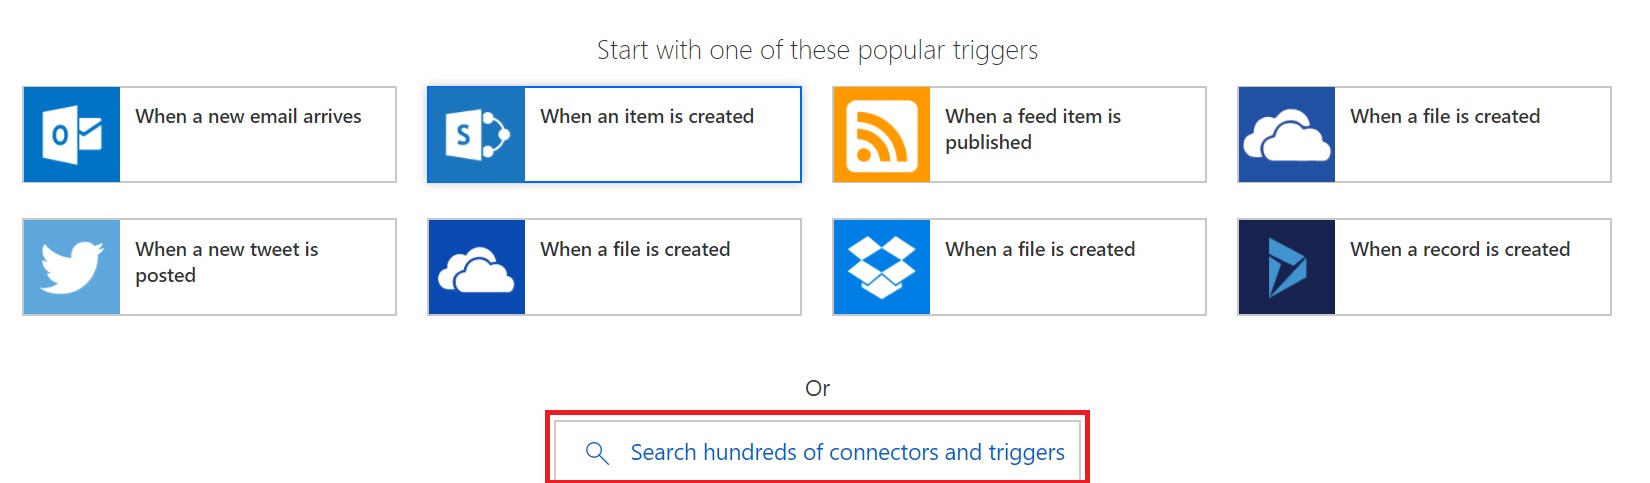
On the next page, it will ask to either choose from a list of popular triggers (event that will start the flow) or search for one. Click on Search hundreds of connectors and triggers
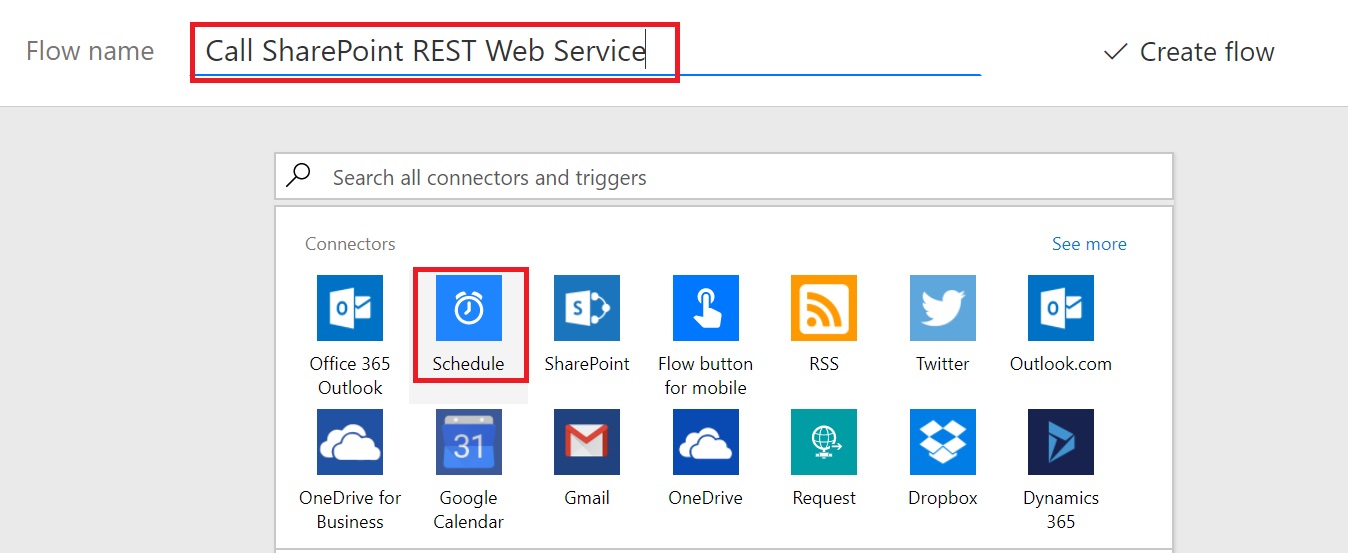
on the next page, give your flow any identifiable name. You can select any other tigger as per your requirement. For this article, I would select Schedule as trigger
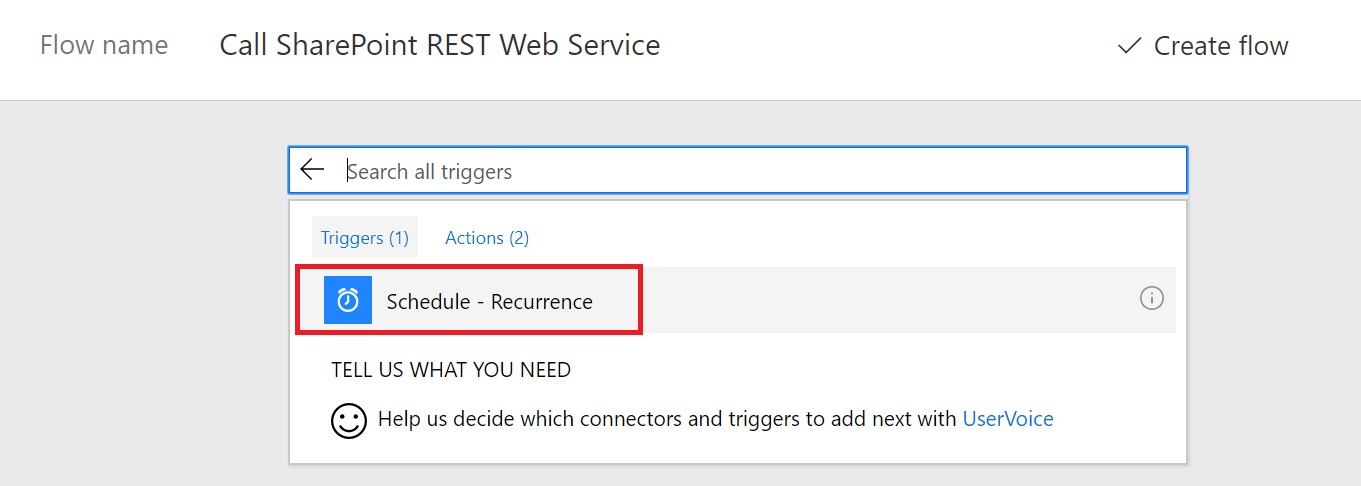
And then select “Schedule – Recurrence” from the options.
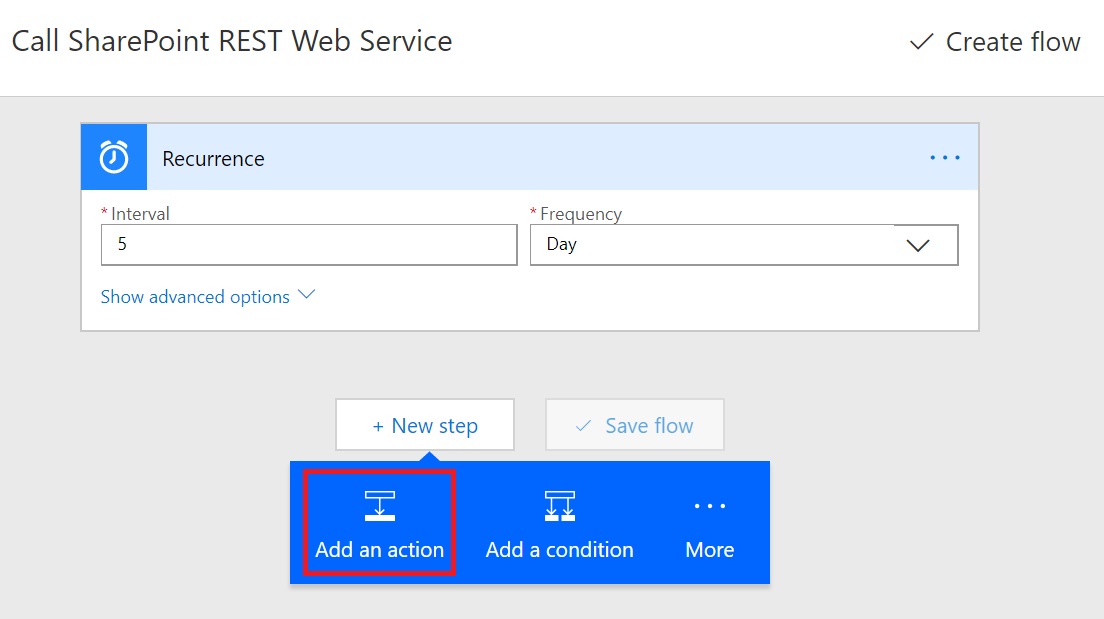
Change the schedule as per your requirement. In this case, I have just changed it to 5 days, as we’ll just be initiating this manually anyway. Click on Add an Action.
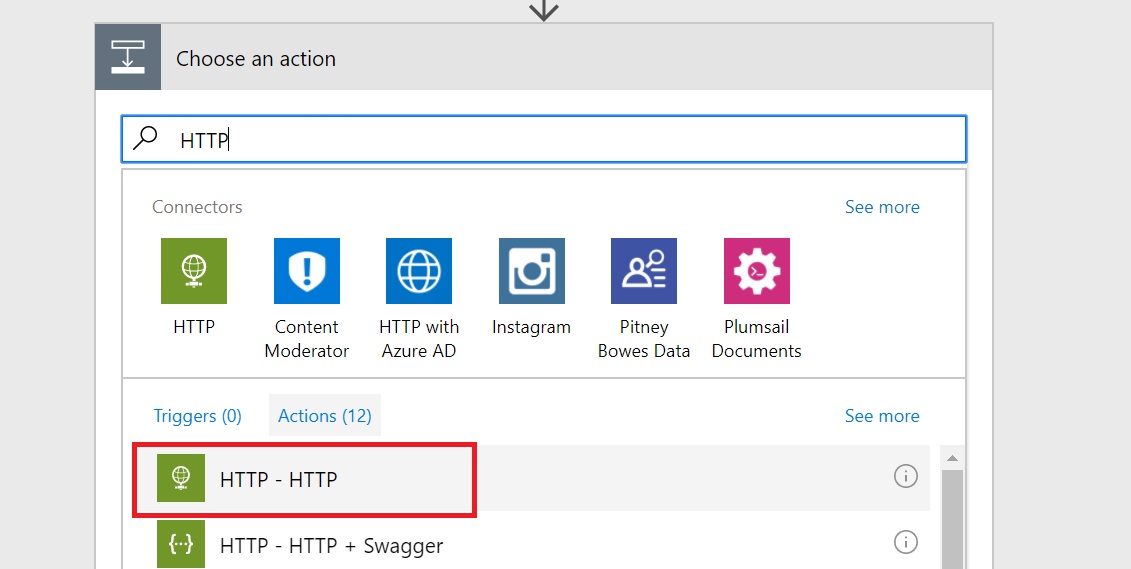
Search for HTTP and Select HTTP – HTTP from the Results
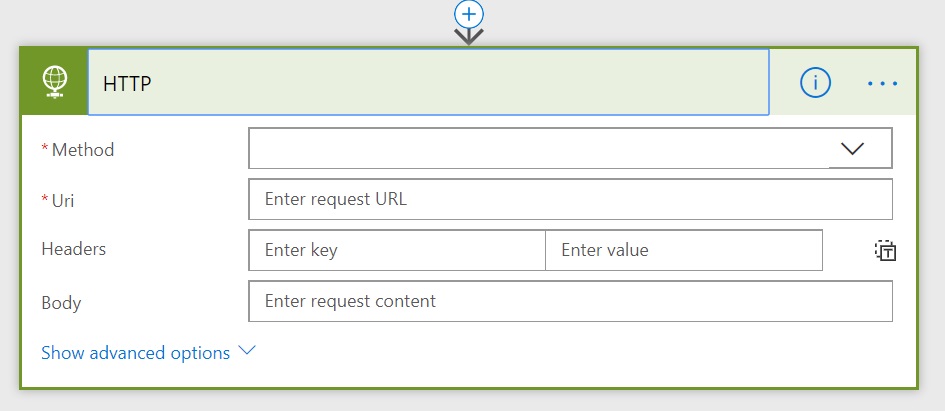
A new action named HTTP will get added as a step.
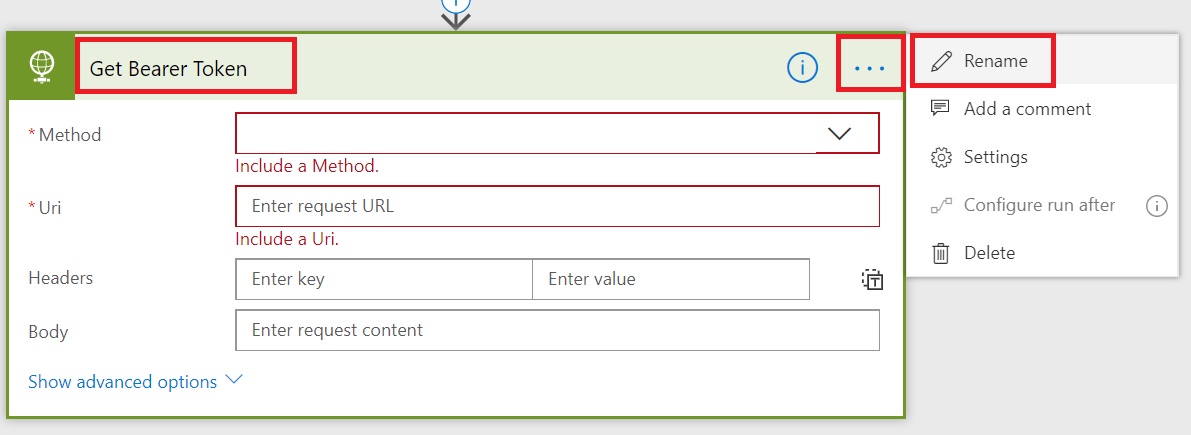
If you want, you can change the name of the action, by clicking “…” in right side of the screen and selecting Rename to make this step better identifiable later.
Get Bearer Token
At this stage, we’ll take a pause a bit and prepare for the values that we need to provide in the above form to move forward. If you have worked with SharePoint REST Services using .Net/PowerShell, you know that we need to get a bearer token first before we can call any APIs. This is received by passing the Client ID and Client Secret that we registered earlier in a specific format to a specific endpoint.
We already have Client ID and Client Secret. But in cases where the client secret contains any special characters we need to URL Encode it. I just use https://www.urlencoder.org/ to get the encoded client secret. If you don’t do this, you may get an error like “Invalid Client Secret” when the step is executed. So, if your generated client secret came up like BhW/rsym7yD6we8XOGB91DvtqK/NowARtJ4KH/YZ+wo= the value that you should be using as client secret in this step would be BhW%2Frsym7yD6we8XOGB91DvtqK%2FNowARtJ4KH%2FYZ%2Bwo%3D
Another input we need is the Tenant ID. There are various ways to get that but easiest is to browse to https://[tenant].sharepoint.com/_layouts/15/appprincipals.aspx and copy the text next to @ under App Identifier.

Now that we have all the inputs lets go ahead and fill the values in the Flow Action.
- Method: POST
- Uri: https://accounts.accesscontrol.windows.net/<tenant ID>/tokens/OAuth/2
- Headers: Content-Type as Key and application/x-www-form-urlencoded as Value
- Body: grant_type=client_credentials&client_id=
<Client ID>@<Tenant ID&client_secret=<Encoded Client Secret>&resource=00000003-0000-0ff1-ce00-000000000000/<tenant>.sharepoint.com@<Tenant ID>
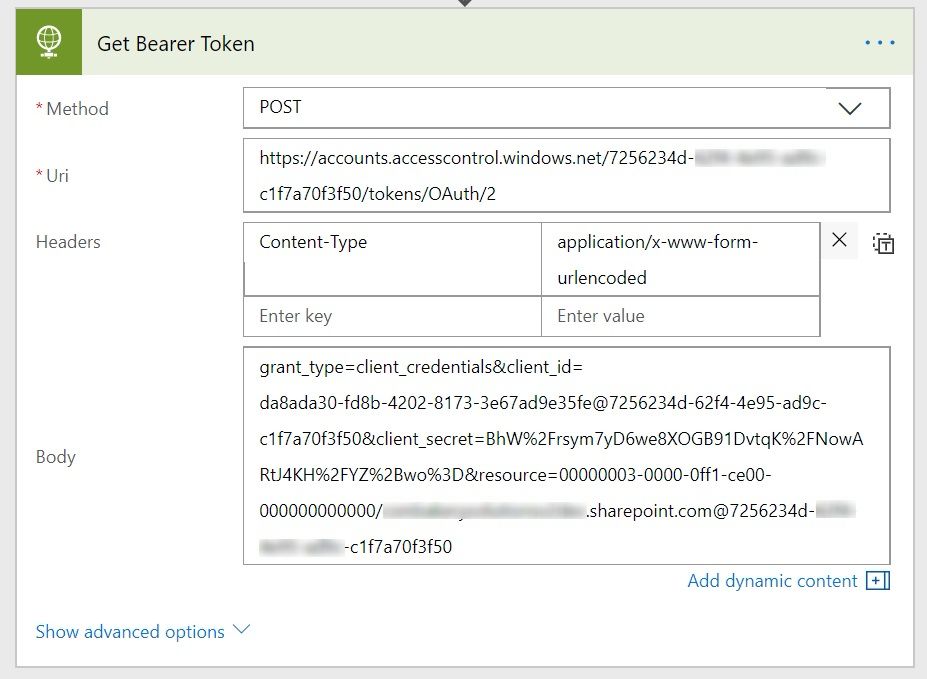
We don’t need to go into Advanced options of this action, the current configurations are enough to get us the token. Let’s Create the Flow and see if we can get the token successfully.
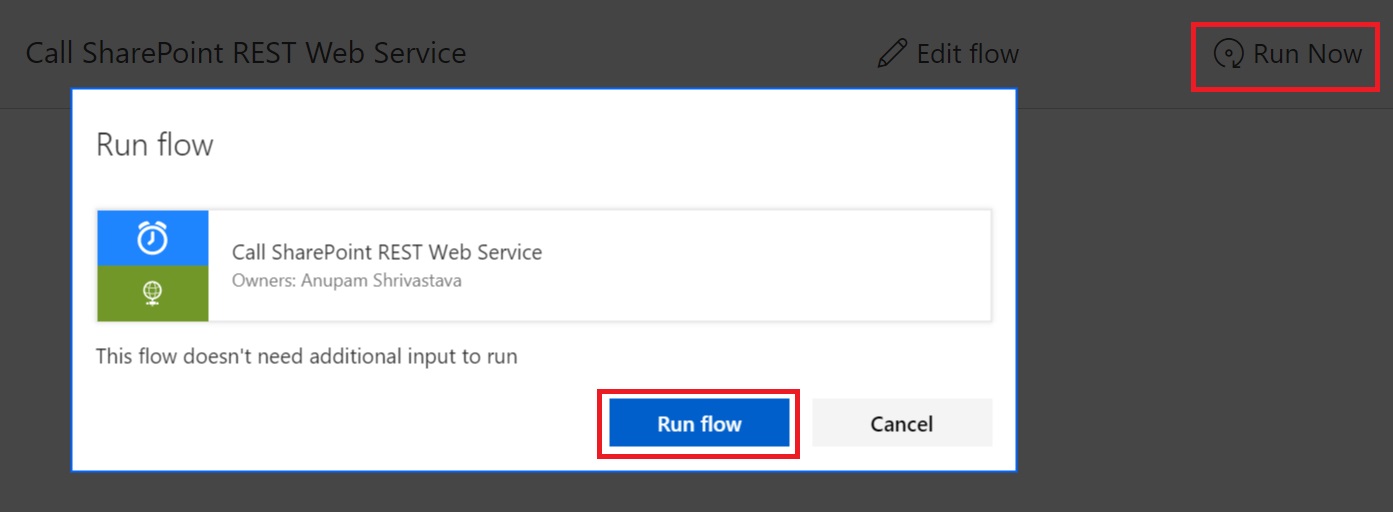
Click on Create Flow and then Run Now and then Run Flow in the popup.
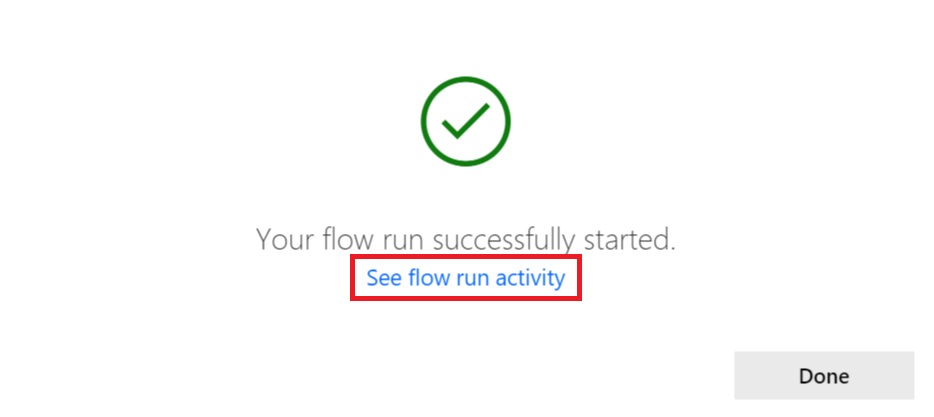
If all was configured well, you should get a popup message saying “Your flow was successfully started”. Click on See flow run activity to check the steps.
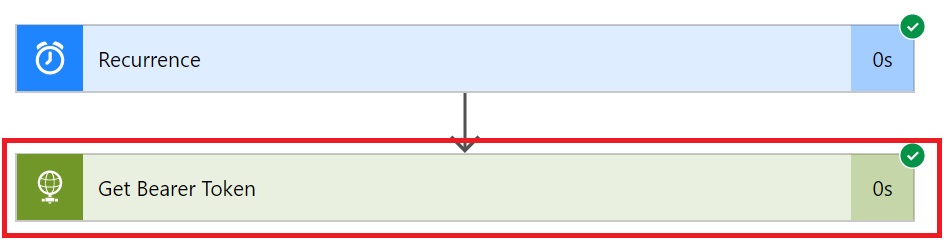
You should see a succeeded item listed in the next page. Click on that message.

On the next screen, it would list all the executed steps with their status like success, error etc. I our case, we expect to see success obviously.
It would show the inputs and outputs of the step, scroll down to the end and check the body of the OUTPUTS section. You would see “access_token”: “<long string>”
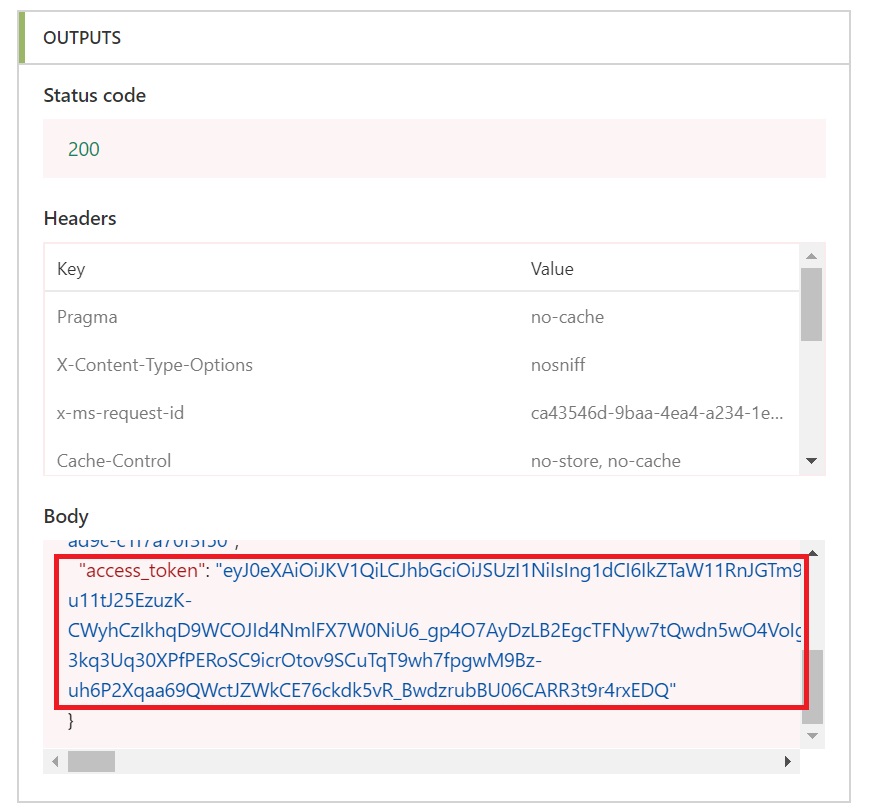
So, our Flow action is working as expected and getting us the required token now.
Extract Bearer Token
So, now that we have that access or bearer token, we need to extract it from the output and pass it on to the next step which will call the SharePoint REST web service.
Let’s go ahead and edit the Flow again now by clicking on “Edit Flow”.

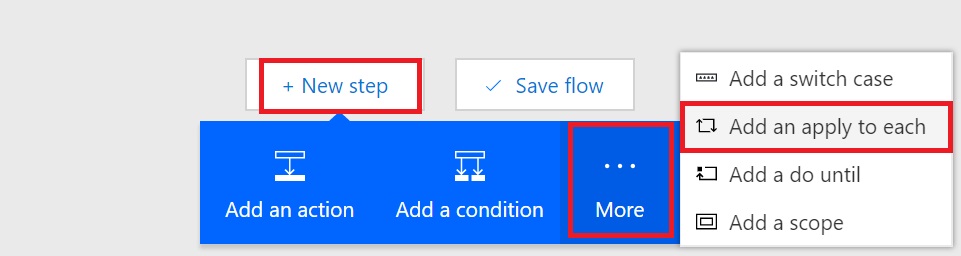
Add another action after Get Bearer Token step and search for “Compose”
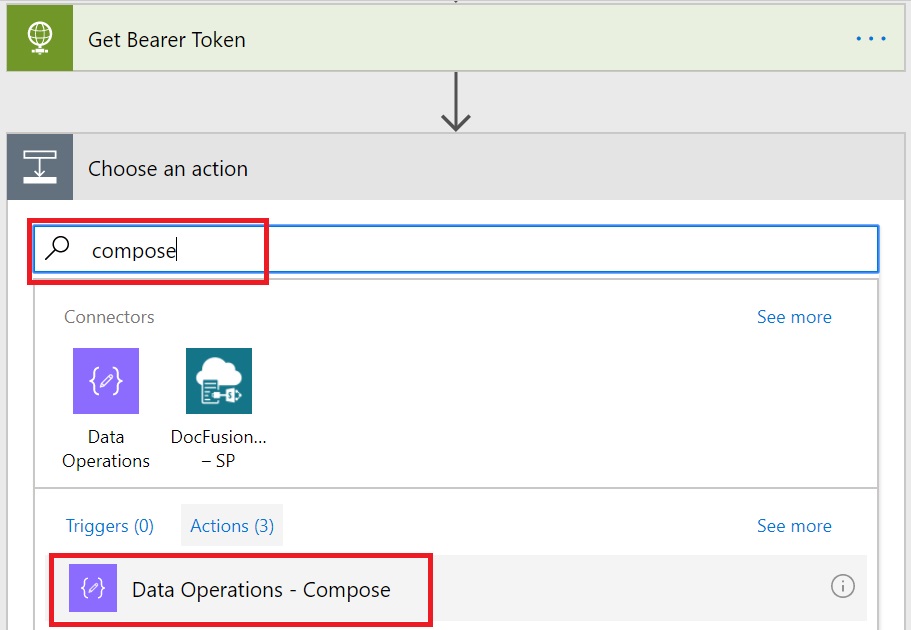
Select “Data Operations – Compose”. It will add another Action and will ask for Input. Type “@outputs(‘Get_Bearer_Token’).body.access_token” in the input box, including the double quotes.
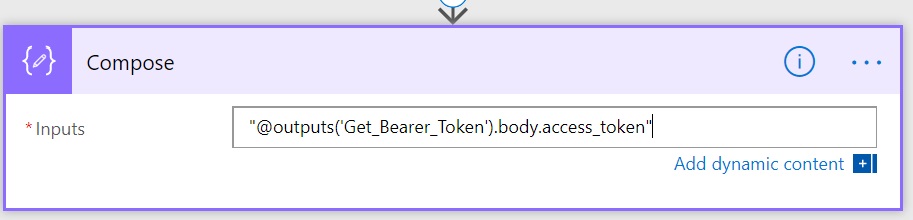
Here Get_Bearer_Token is the name of the previous action with spaces replaced with underscore (_) character. If you have named your previous action something else, use that name here. Also, always Type this, don’t copy-paste from here otherwise, you might get http 400, bad request error.
At this stage, we have extracted the access token which can be passed to the next action which will make SharePoint REST call.
Call SharePoint REST Service
Finally, we are at the step where the actual action will happen.
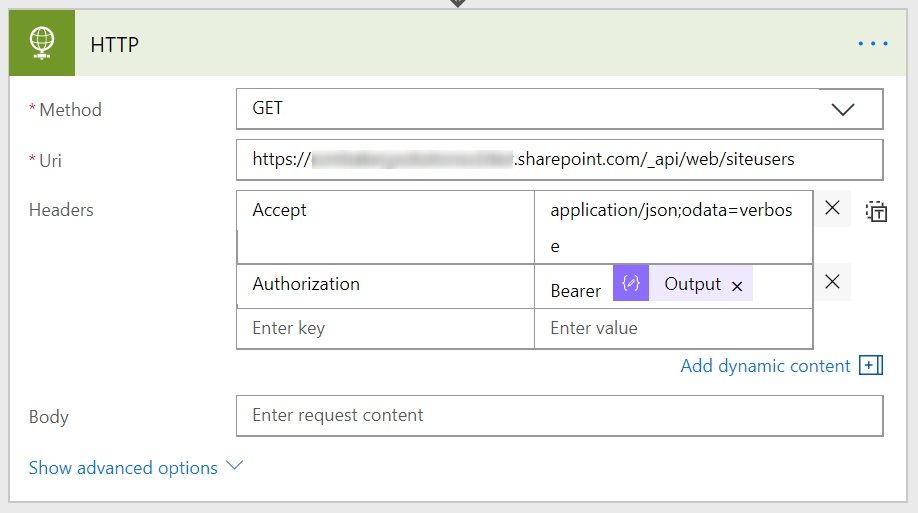
Add another Action after Compose and select HTTP – HTTP like the previous step of Get Bearer Token. It will add another HTTP action and we need to prepare for the values to be passed to it. In this example, we are going to get a list of all Site Users. You can find out all the REST APIs here. You need to modify the Authorization given to the App in earlier step to Write or Full Control, if you want to write or update something in SharePoint.
- Method: GET
- Uri: https://<tenant>.sharepoint.com/_api/web/siteusers
- Headers:
- Accept as Key and application/json;odata=verbose as Value
- Authorization as Key and Bearer<space><select output from previous step>
- Body: <Leave Empty>
Update the Flow and Run it. If all went well, you would see the list of all site users in JSON format under body section of OUTPUTS of this action.
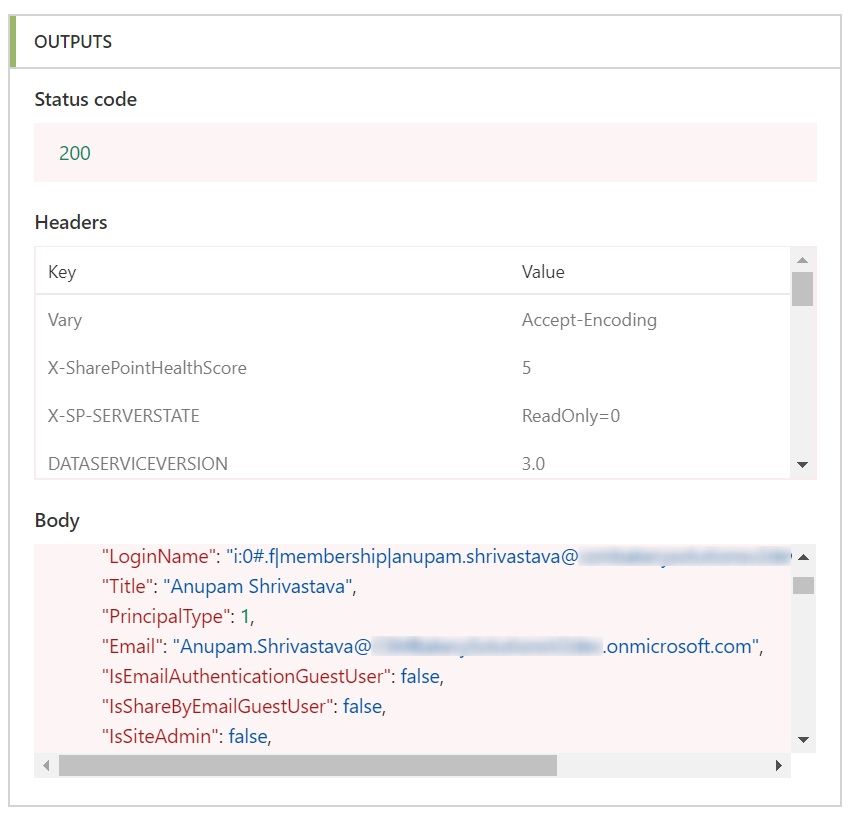
Great, so our REST call is working as expected and we now have the expected output. But how can we use this output in next step, say adding all these users to a custom SharePoint list.
If you get access denied error under output, then your app was not registered properly in the SharePoint step. Check your Permission Request XML and update again at https://[tenant].sharepoint.com/_layouts/15/appinv.aspx
Parsing the Output
Initially, I intended to finish this article here, but I thought for new users of flow, it might be interesting to see how can the output be used in next steps, as JSON string can be a bit a complex based on data.
So, How can we extract, say, just LoginName of all the users, if required. So, I decided to add some more steps in this flow to explain the same. Pls. bear with me for this long article, I am sure it will be worth your read.
Before we move forward, copy the JSON output from the Body section under OUTPUTS of the previous step and save that in notepad. We’ll need that in this step to generate the schema.
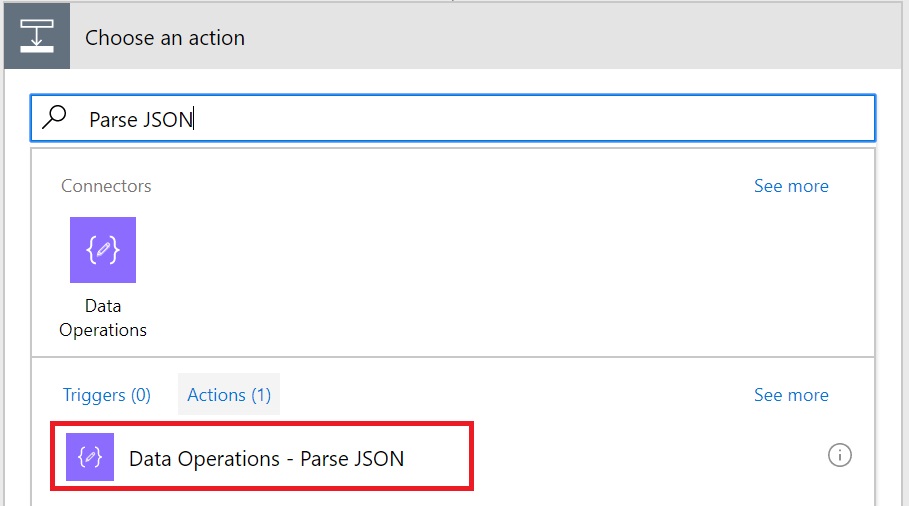
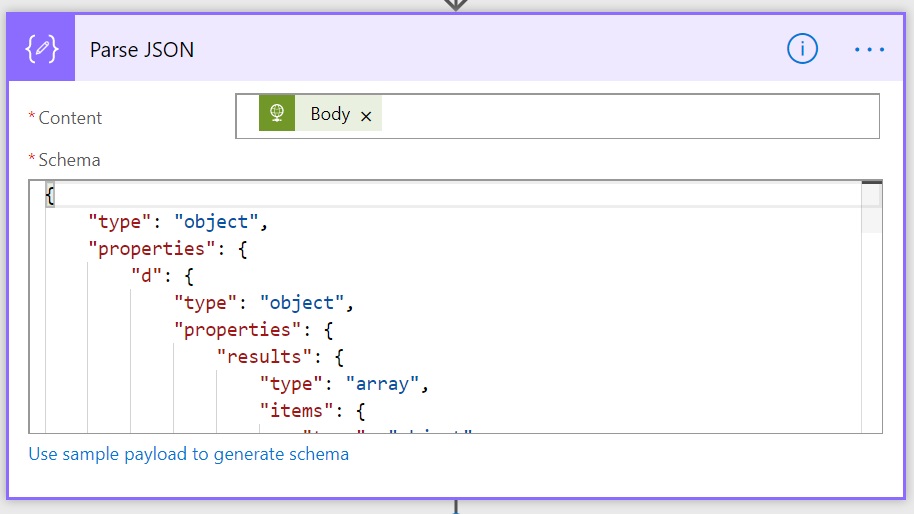
To parse the output, let’s add another action after our SharePoint REST service call. Search for Parse JSON and select “Data operations – Parse JSON”
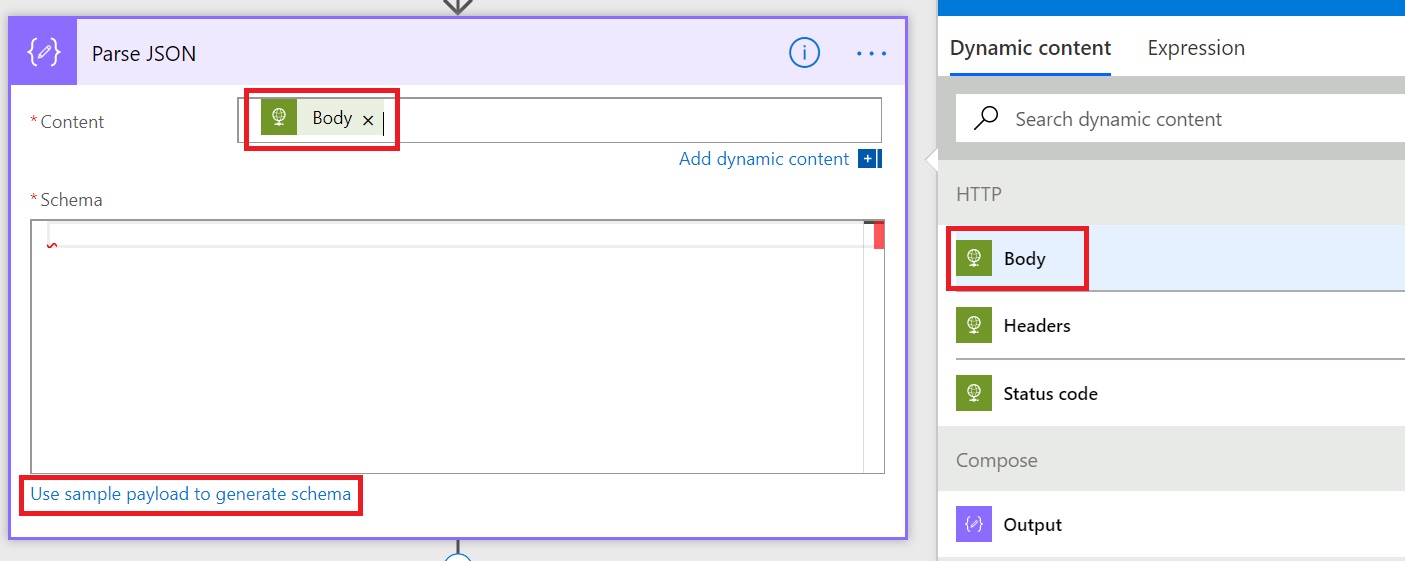
In the newly opened form under Content, select Body from the Dynamic content and then click on “Use sample payload to generate schema”.
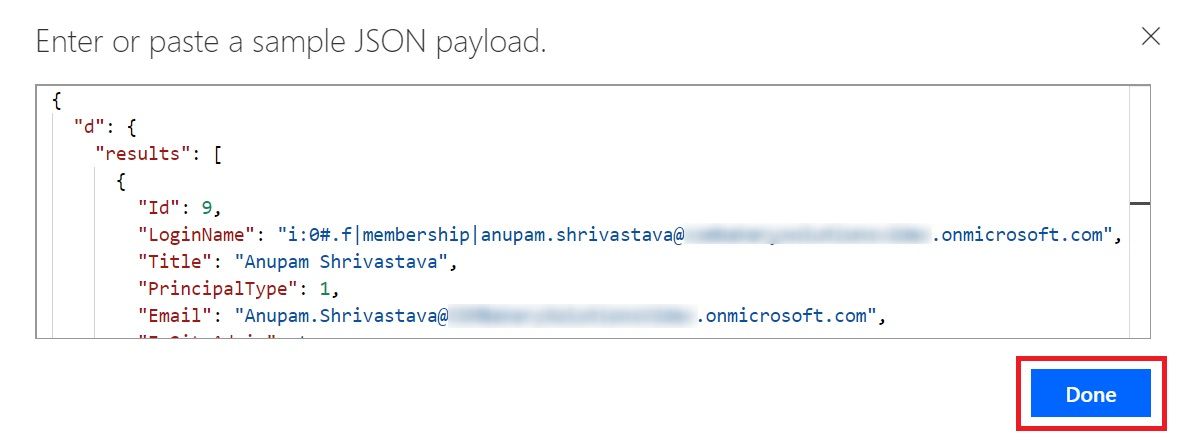
In the popup screen, you can paste the output copied from the body section of the previous step. You can also remove the additional fields and data that you don’t want. Like in this example, the output contains all Alerts, Groups etc. also for each site user. If you remove those from the data before generating schema, those will not be available in next steps.
For ease of understanding, I just kept two users in this format and removed everything else from the generated output. Essentially, I only wanted to know Id, LoginName, Title, PrincipalType, Email and IsSiteAdmin.
[code]
{
  "d": {
    "results": [
      {
        "Id": 9,
        "LoginName": "i:0#.f|membership|[email protected]",
        "Title": "Anupam Shrivastava",
        "PrincipalType": 1,
        "Email": "[email protected]",
        "IsSiteAdmin": true
      },
      {
        "Id": 14,
        "LoginName": "i:0#.f|membership|[email protected]",
        "Title": "Test SharePoint",
        "PrincipalType": 1,
        "Email": "[email protected]",
        "IsSiteAdmin": false
      }

    ]
  }
}
[/code]
If this is a bit complex to understand, you can use the exact output copied from previous step and put that in the textbox and click Done.
Now, you can see if action shows the generated schema based on the data provided.
Save Users in a SharePoint List
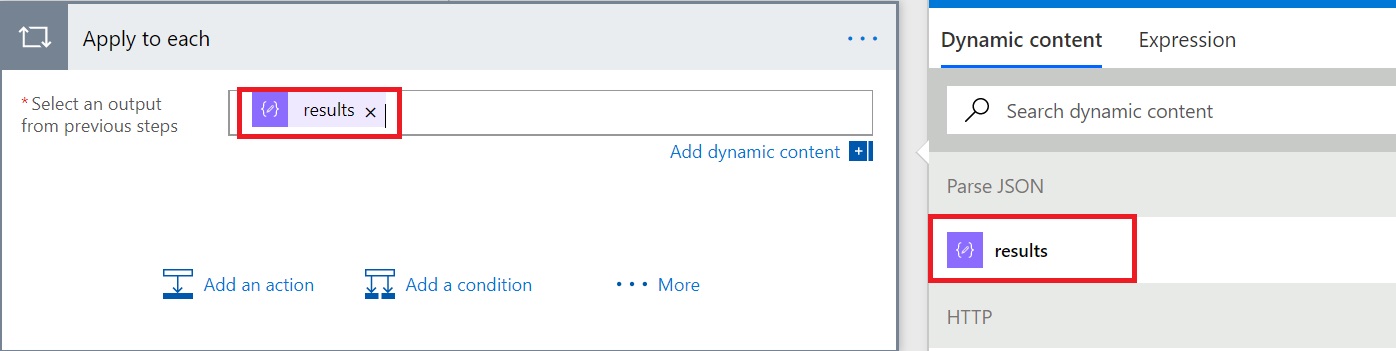
Now that we have Parsed the incoming JSON in the required format, lets just loop through each user and add those to a SharePoint List.
In the field “Select an output from previous steps”, select results from Dynamic content.
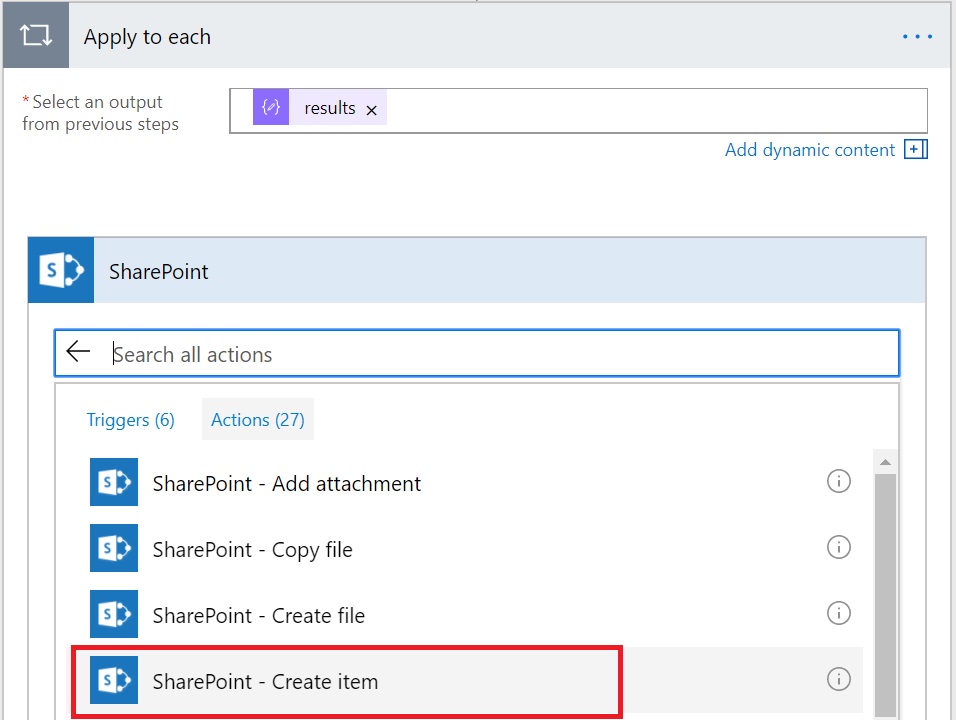
Now, we’ll have access of each property of the user within this loop. Lets add an action within the loop and select “SharePoint – Create Item”. We can also use SharePoint REST APIs here to write back to SharePoint, but I wanted to show this approach as well.
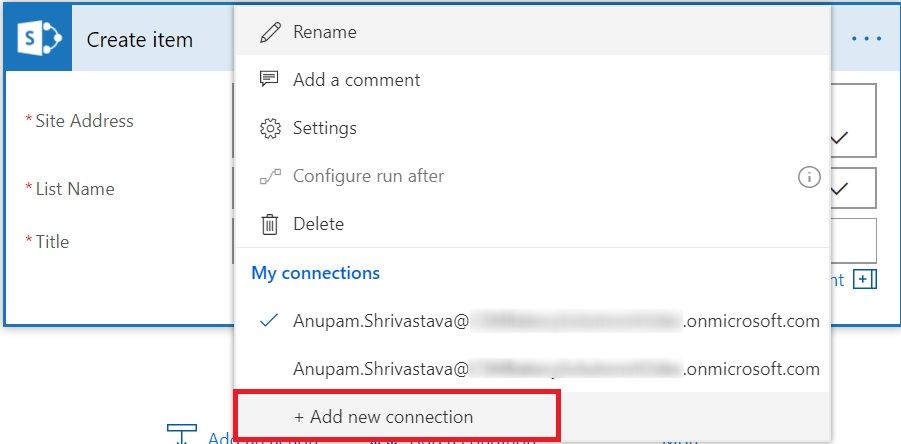
In the form, first provide a valid connection with an account which has write permission on the list. By default, it will use the account using which you have logged into Flow. If you want to use some other account, click on “Add new connection” and provide the credentials.
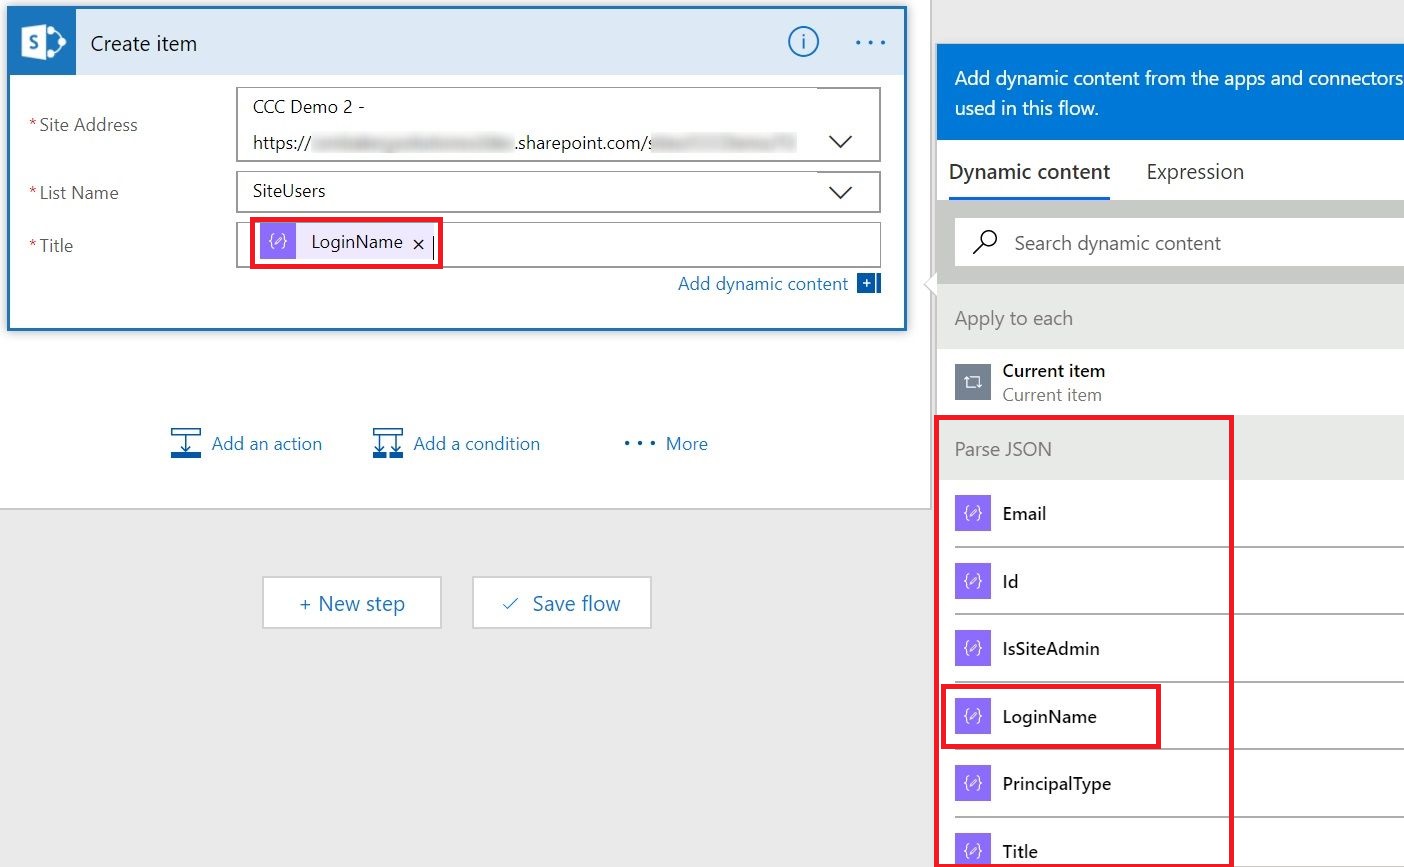
Now provide the Site URL and List Name. In this case, I had just created a new custom list named SiteUsers. You can see now, all the user properties extracted are available as variables to be used. Just select the LoginName under Title.
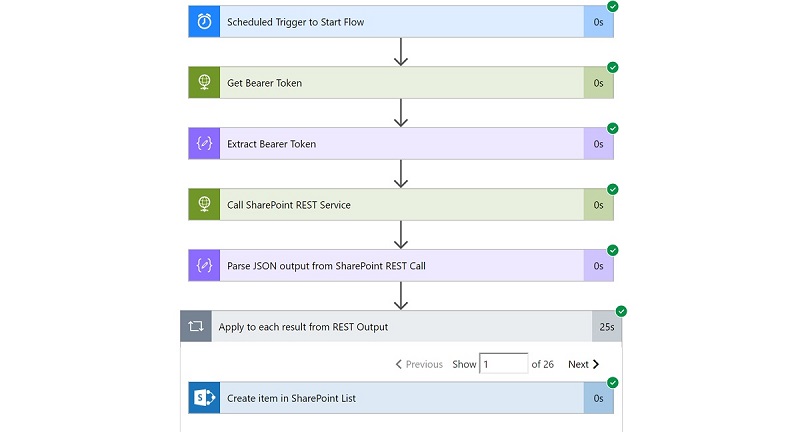
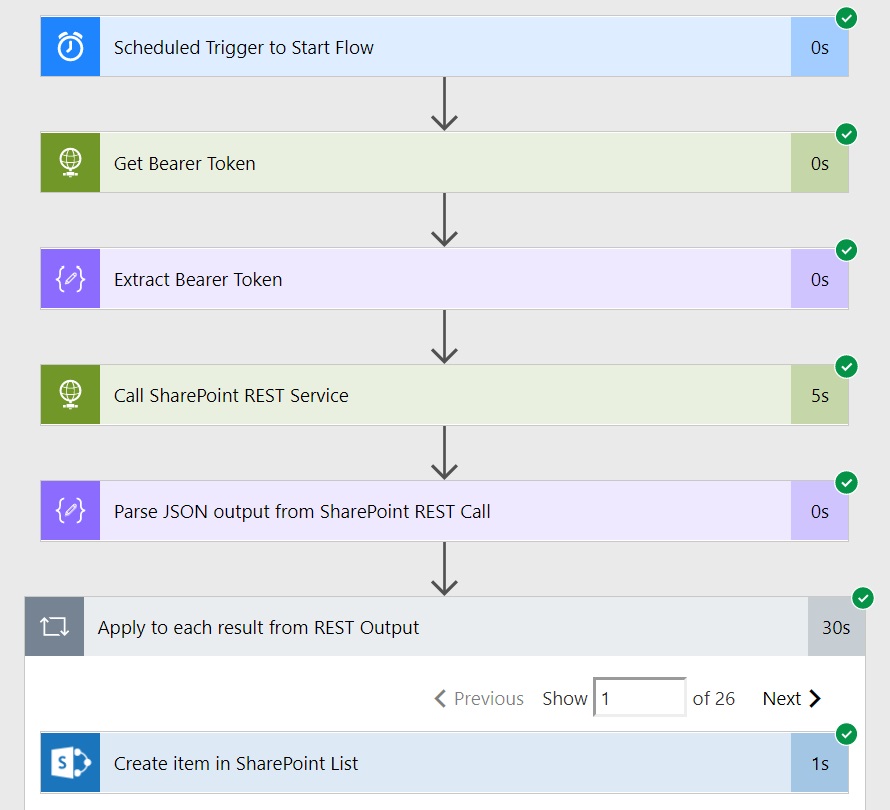
And we are done. Update the Flow and Run 🙂 If all went well, you should see a nice screen looking something like this. I have renamed the actions to represent the step clearly. If you get any errors while renaming any Actions, just remove the reference (like results, body etc.) from the next step, rename and add that reference back in next step.
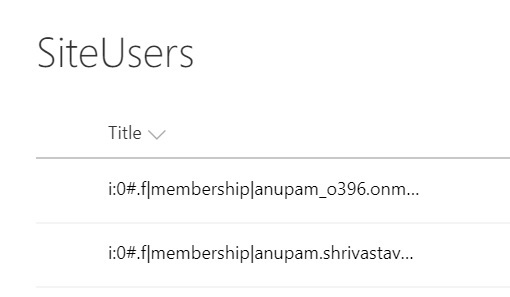
And a look in out SharePoint List as well. You would see all the site users are now added to the list.
Hope this helps.
Enjoy,
Anupam
11 comments
Hi Anupam, maybe you can help me. I don’t know why in the second step (once I’ve already have the access_token and I do the get request) I obtain an 400 error: Bad request invalid hostname.
I’ve tested copying the same obtained access token from MsFlow to Postman app, and it works perfectly.
The http request is pretty simple: /sitecollection/_api/web/lists
At the beginning I thought I was doing something wrong, but neither your simple call with site users is working: i get the same error.
Headers looks good, too. Any idea?
Hi Marial, were you able to resolve this issue?
Everything runs smoothly until step: Call SharePoint REST Service, I get a BadRequest error.
I copied the example verbatim, ensured space between Bearer and Output… such a simple request I can’t figure out why its not working.
I just tried my example again and it’s working as expected.
Try to call the service at root site (like https://yourtenant.sharepoint.com/_api/web/siteusers) instead of any other site collection. Also, are you able to get the correct access token as output of step “Compose”?
Found why some of you were getting http 400, bad request error. It was because you must have done copy-paste for this “@outputs(‘Get_Bearer_Token’).body.access_token” to extract the bearer token.
Just type in this instead of doing the copy-paste and this error will go away. I have updated the same in the article as well.
Thanks Anupam for such a organized article. Very Helpful.
What a great walk-through!! Thanks for all the details and screen shots.
Getting 403 error at http.. any idea why?
Headers:
{
“Accept”: “application/json;odata=verbose”,
“Authorization”: “*sanitized*”
}
At which step you are getting this error? Are you able to get the Bearer Token successfully?
This is great, I did all the steps. This works for
https://oursite.sharepoint.com/_api/web/siteusers
but not for search api
/_api/search/query?querytext=’test’&rowlimit=10
Flow is just calling the API. You can test if seach api is returning the results using postman.