Alert Policies are a bit of hidden gems in Office 365. There are a wide list of activities which can be tracked using these alert policies and a notification can be received when such activities/events occur.
As per the official definition, we can use alert policies to track user and admin activities, malware threats, or data loss incidents in Office 365. After choosing the activity you want to be alerted on, refine the policy by adding conditions, deciding when to trigger the alert, and who should receive notifications.
Alert Policies
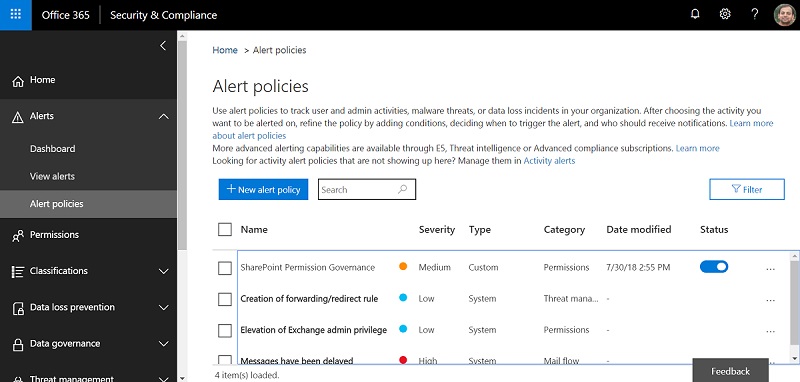
Alert Policies are part of Office 365 Security & Compliance Center. So, to create it we need to browse to it’s Admin Center and click on Alert Policies in left navigation.
Based on which type of subscription you have (E1, E3 or E5), It will show a page with some “Default” alert policies listed.
Create Alert Policy
Office 365 features and interfaces are evolving continuously and Alert Policies are no exception. There are two interfaces currently to create Alert Policies. These are gradually being merged.
New Interface
Let’s first take a look at the New Interface for creating Alert policies.
Alert Naming
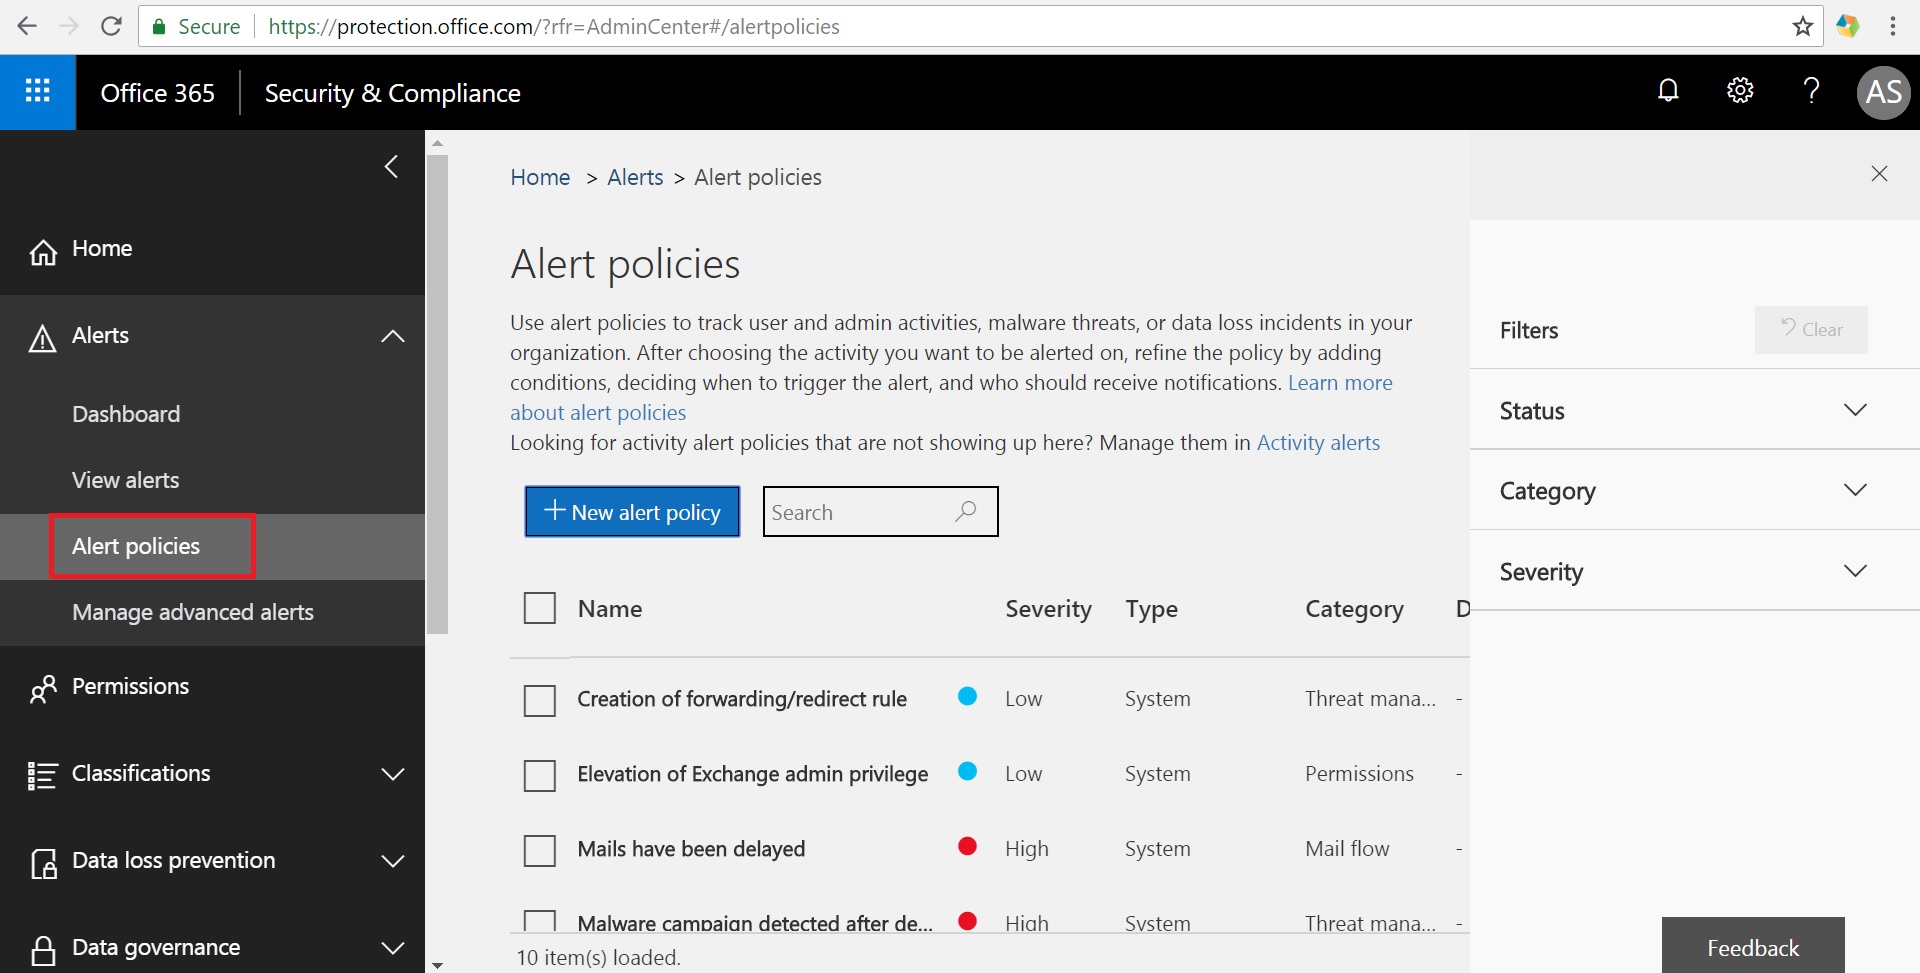
To start creating a new Alert Policy, click on the “New alert policy” button on the Alert Policies page. A Wizard will open. Fill in the details like Name, Description, Severity and Category.
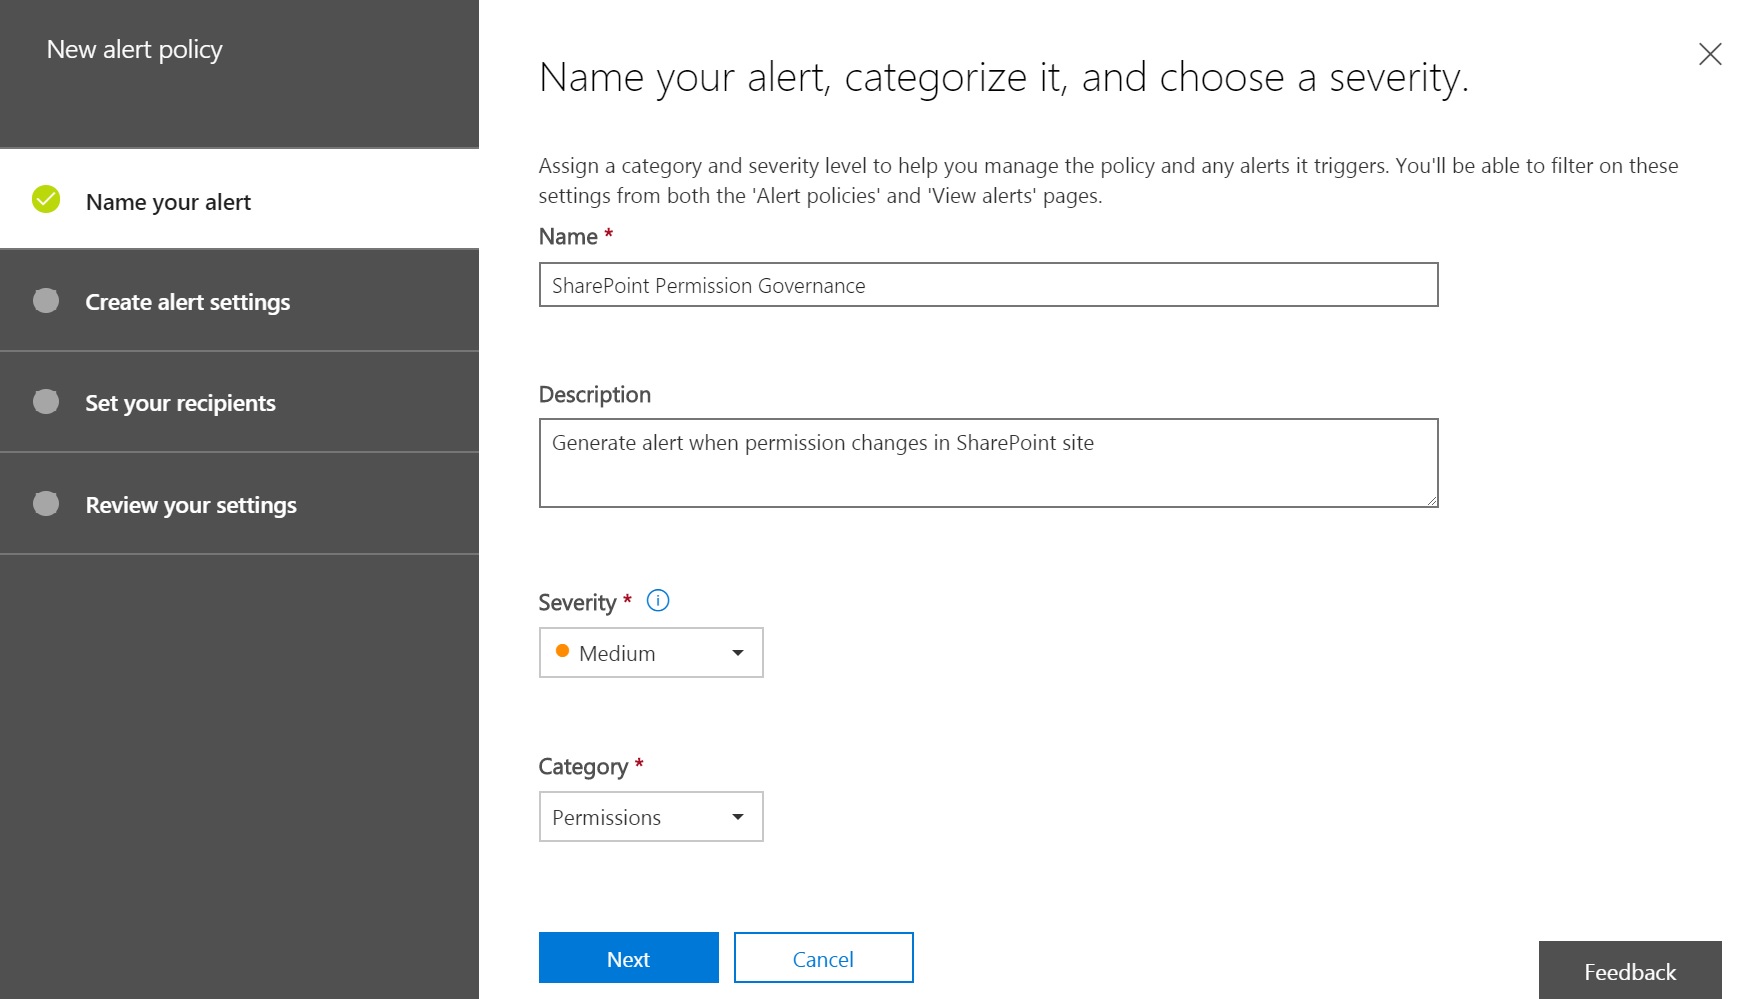
Severity and Category fields are just for classification of the Alert Policies in the dashboard or landing page. They don’t actually impact the events you can select or the actual alerts being generated.
Click Next to move to next form in the wizard.
Events to Monitor
In this form we need to select the events/activities which are needed to be monitored and generate alerts. There is a long uncategorized list of events across various Office 365 workloads, but we can find the one we are looking for via search. Like in the below screenshot, I am creating an alert for any File Deletion event.
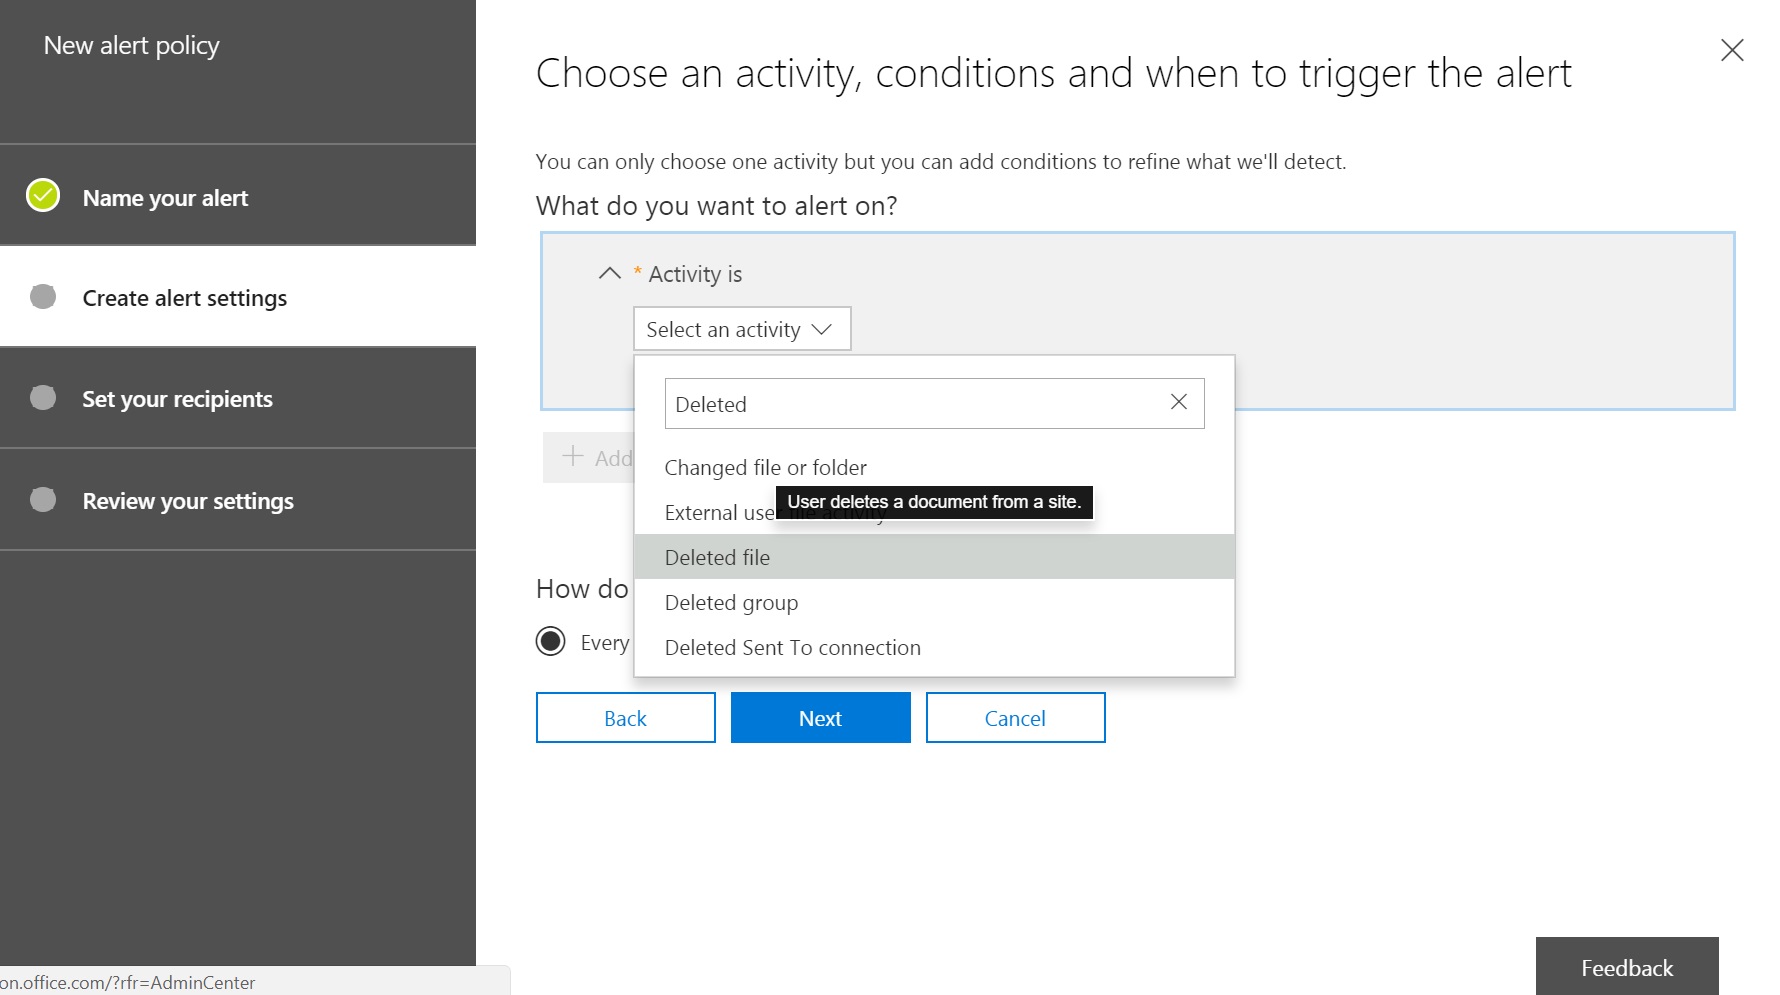
We can only specify one activity in an alert policy at this time. Continue reading further to find out how can be select multiple activities 🙂
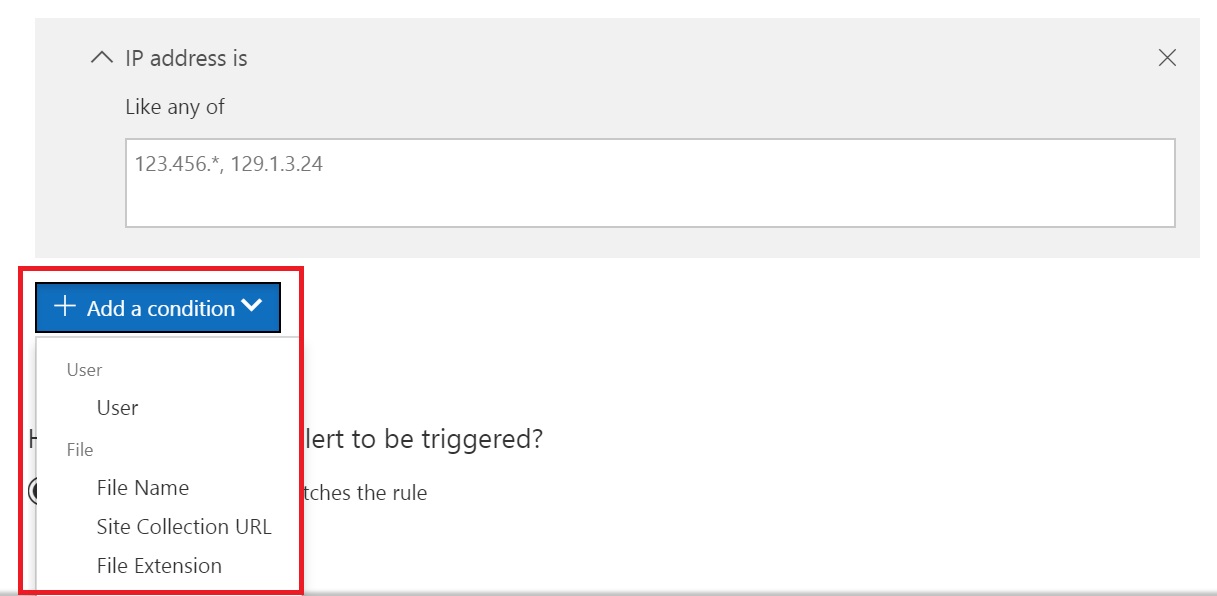
Once an activity is selected, the button “Add a condition” gets enabled. This option allows us to filter the generated events based on an IP address, User, Site URL etc. These filter parameters could be different for different events. Like for an event related to Exchange online, these filters would be related to mails.
We can also specify the frequency of such alerts. Unfortunately, this is still work in progress and the only option we have available right now is to select “Every time an activity matches the rule”. This is expected to have more scheduling options (like daily summary, weekly etc.) in future.
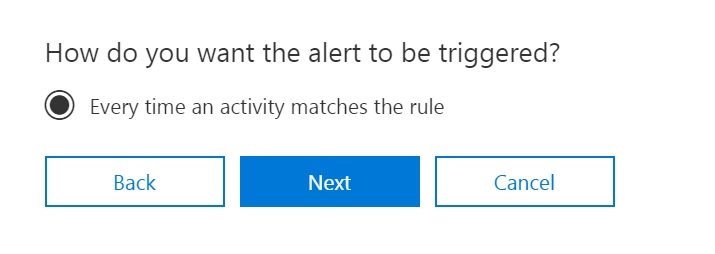
Click Next to move to select the recipients.
Select Mail Recipients
Now that we have defined the Alert Policy and Selected the Activities which should be tracked to generate alerts, we need to list the users who should receive the alerts. We can type in any mail ID – valid office 365 users or even personal email IDs both. And we can provide multiple mail IDs as well.
We do have an option to uncheck “Send email notifications”, which will ensure that no mails will be sent in case of any event which matches our criteria defined in previous steps. In this case we can see the generated alerts in the Alerts Dashboard within Security and Compliance admin center.
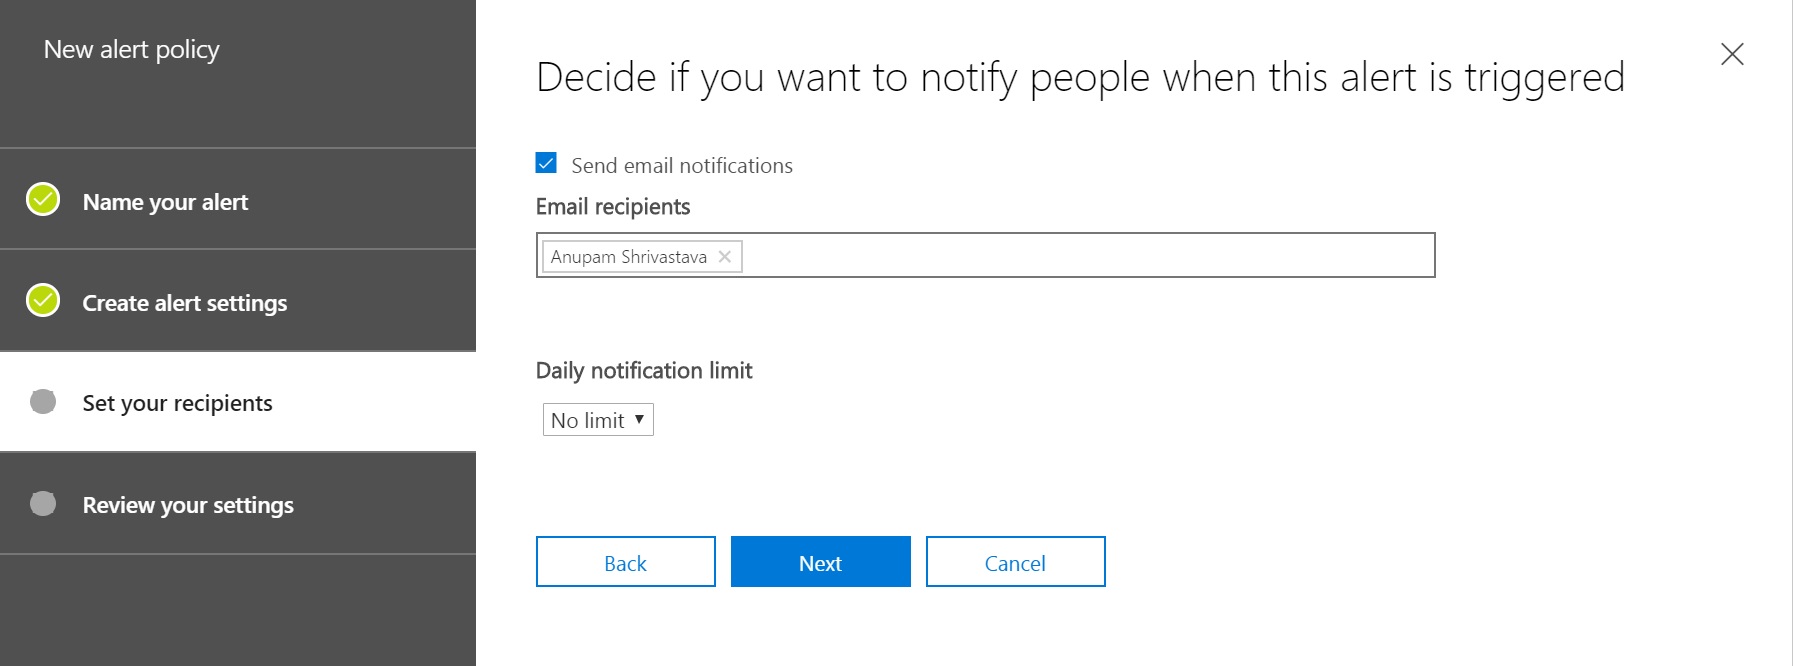
We can also select the “Daily notification limit” with values being “No limit”, 1, 5, 10, 25, 50, 100, 150 & 200.
Once the selection is made, click on Next.
Review the Settings
Almost there.
Time to review the settings and configuration values. This page shows up all the selections done so far.

Complete Alert Creation
Once all the values are reviewed, we can decide to either “Turn on” the policy right away or keep if off till the time we are ready to do so.
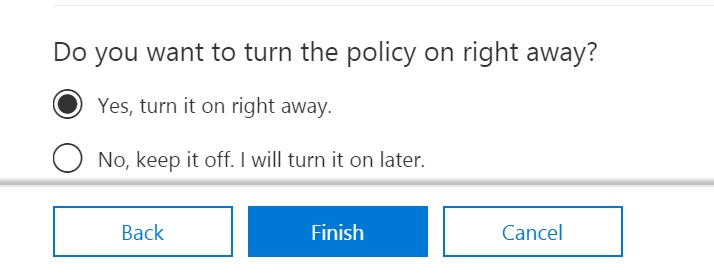
Click Finish to create the policy.
The newly created policy will now be listed under the Alert Policies. You can modify the parameters at anytime by clicking on the alert policy.
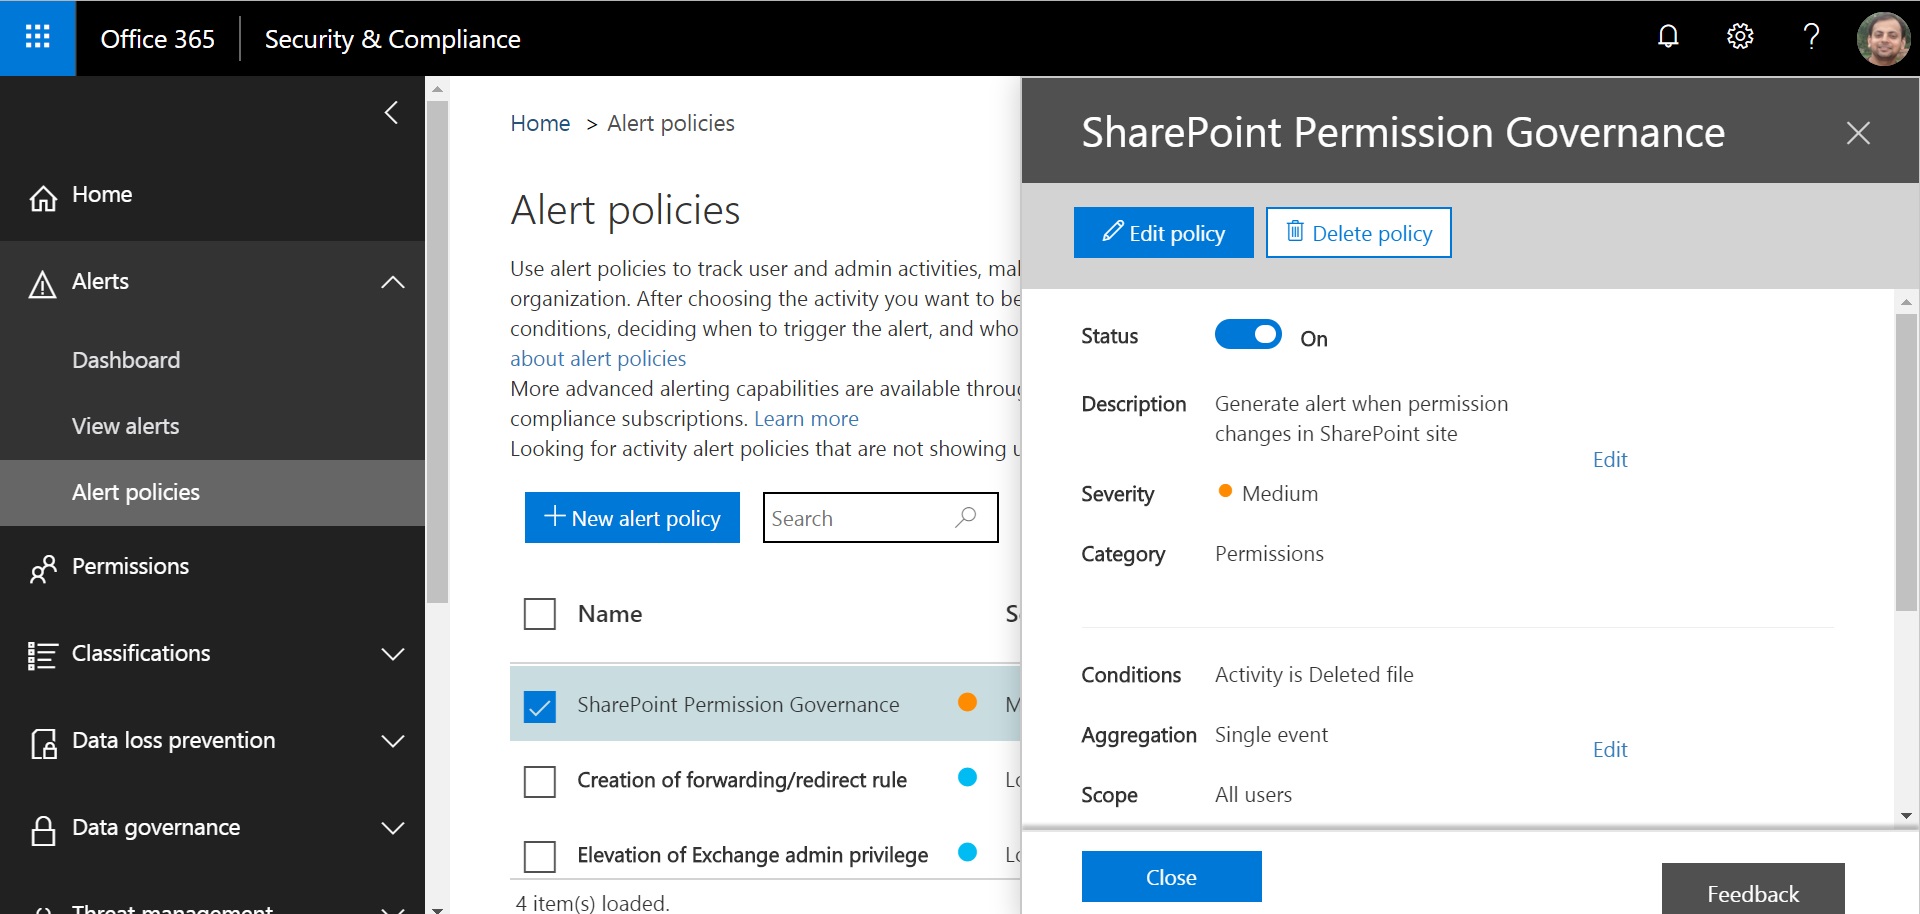
Like many other settings in Office 365, it may take a few hours before the alerts start getting generated for selected events.
Legacy Interface
Let’s take a quick look at the legacy interface to create alerts. Why that is still relevant – well that’s because there are still some activities which can only be selected using legacy interface.
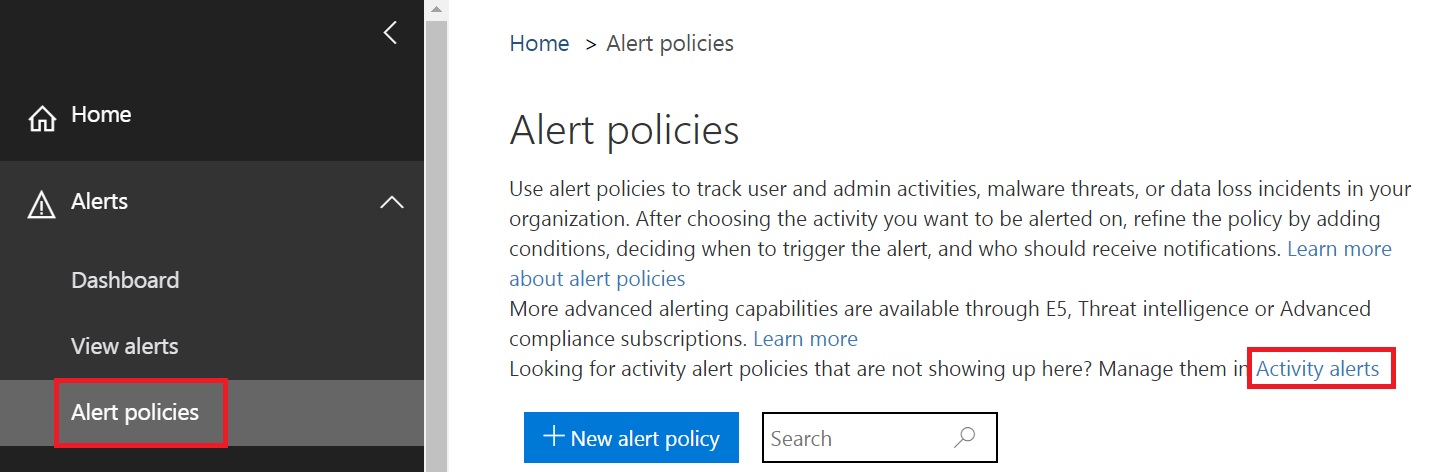
The easiest way to go there is to click on “Activity Alerts” link on the Alert Policies landing page.
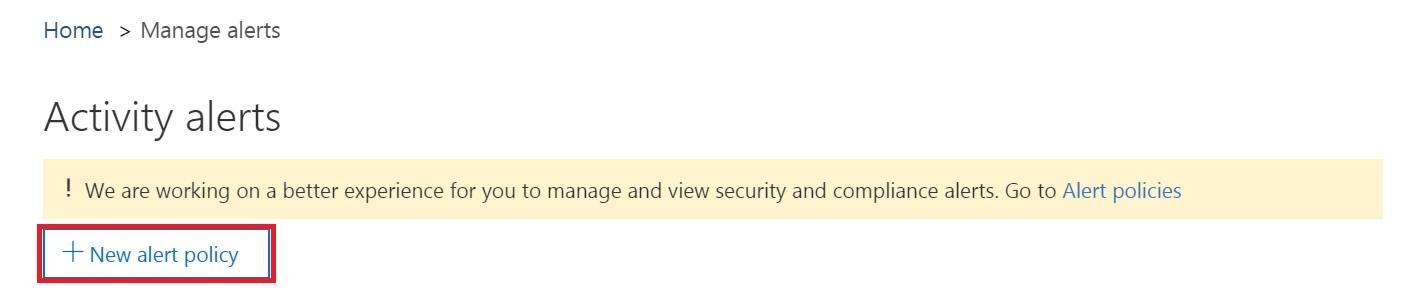
This will open the landing page of Legacy Activity Alerts. Click on “New alert policy”.
This opens a New form where details related to the New Alert Policy can be filled in.

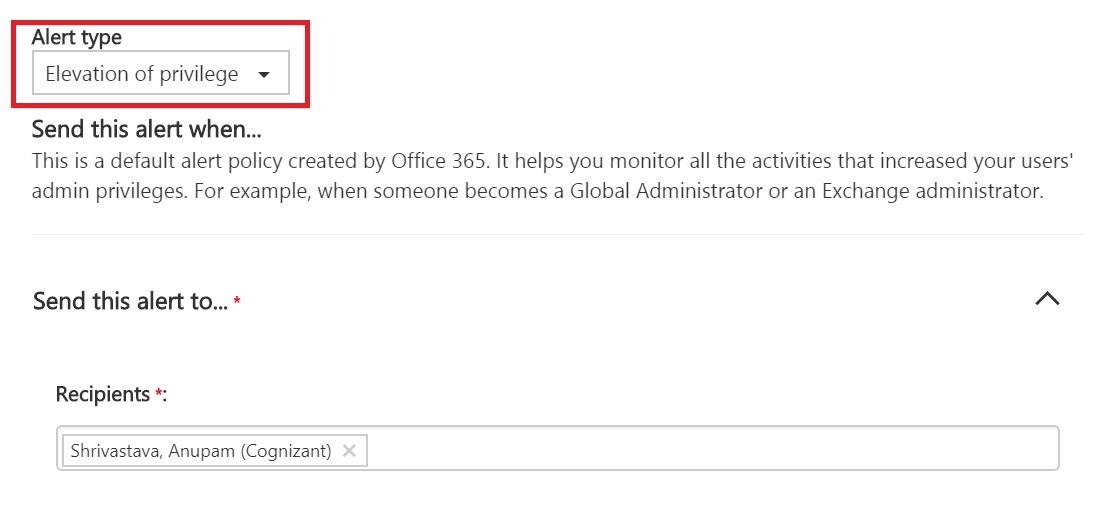
Under Alert Type, either “Custom” or “Elevation of Privileges” can be selected. Elevation of Privileges practically means it will create an alert on the event of some users getting admin privileges.
 But the real difference between the New Interface for creating Alert Policies and Legacy one is the list of events which can be monitored.
When the Alert Type is selected as Custom, we can select the events from a larger list which is well categorized too in the Legacy interface.
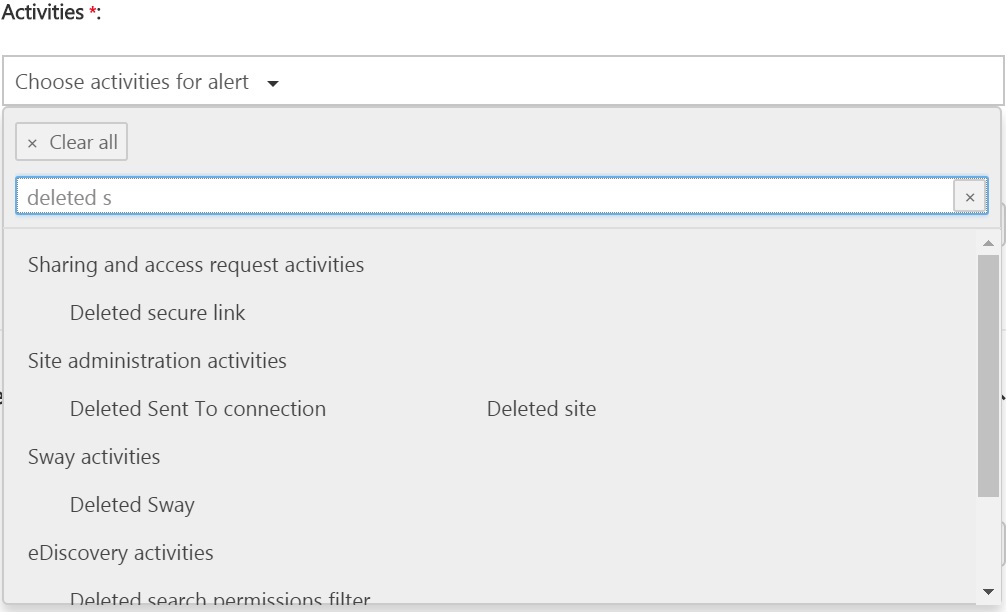
As can be seen here, events like “Deleted site” is now available which is not there in the New Interface yet.
Multiple Alerts can be selected at once in the Legacy Interface, which is not possible in new interface currently
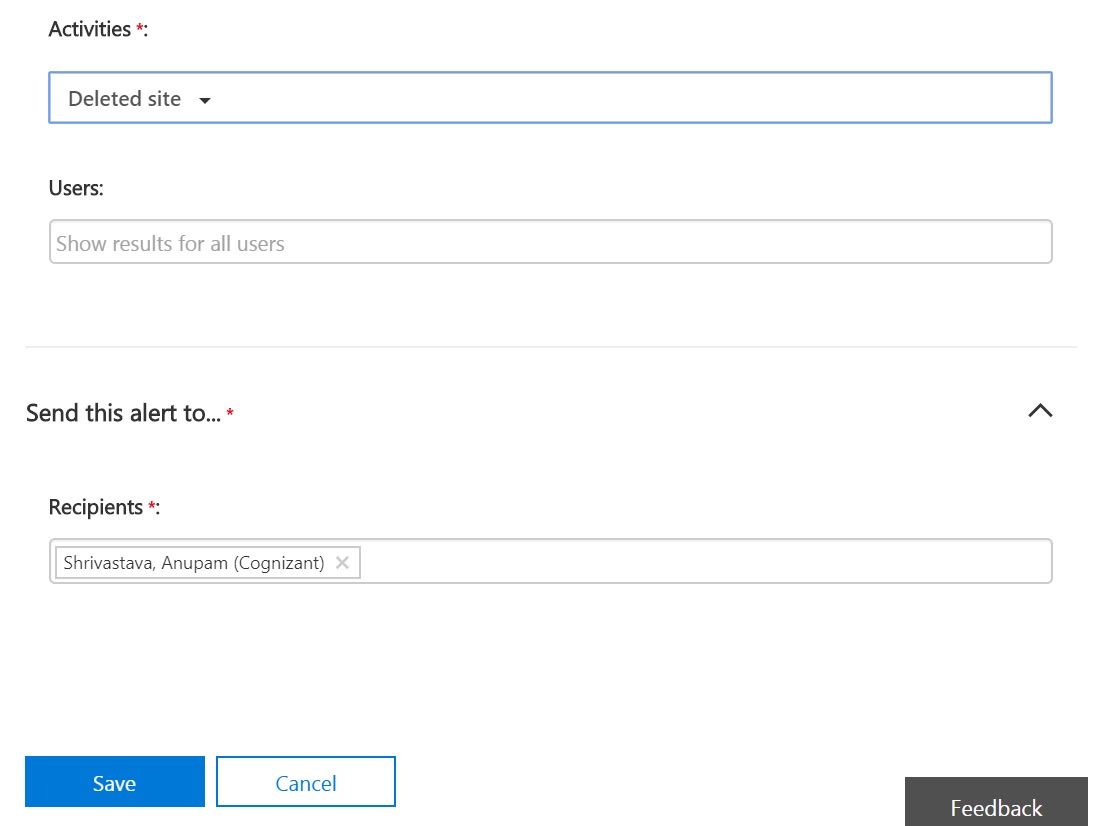
Let’s select that “Deleted site” Activity for our example here. There is only one filter available here “Users”. If that is left empty this mean alert will be generated when the selected activity is done by any user.
Once the desired activities have been selected and any filters applied based on users, we can just select the recipients and click Save to create the policy.
The newly created policy will now be visible on the landing page
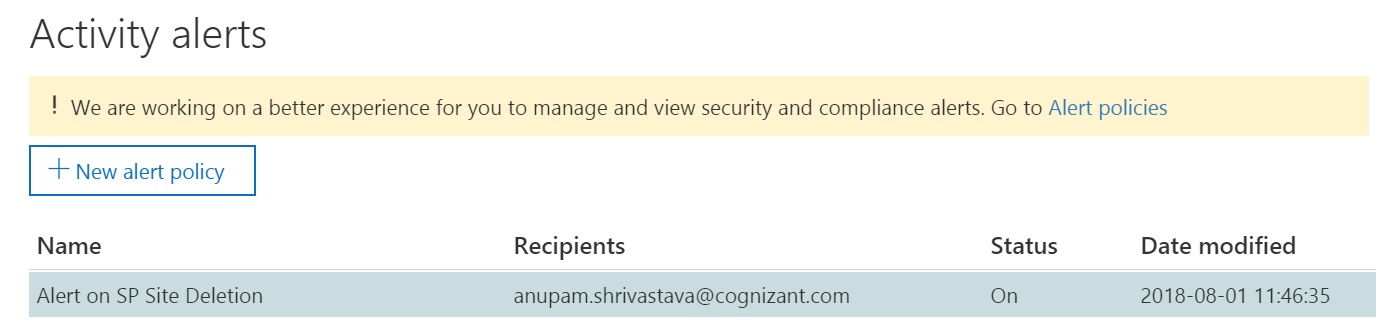
Alerts created from the legacy interface won’t appear in the Alert Policies landing page. You need to click on “Activity Alerts” to get to the landing page of Activity Alerts.
Verificaiton
Now that we have created our alerts, it’s time to see it working. As mentioned earlier, it might take a few hours before Office 365 starts generating the alerts for the selected activities.
After a few hours, I went ahead and deleted a site and received this nicely formatted mail.

Conclusion
The alert policies provide an easy and efficient way to monitor activities across various workloads of Office 365. It can be used as a powerful tool to implement organization wide Office 365 Governance within no time.
Enjoy,
Anupam
1 comment
Hi, can I customize the email template?
Thanks